This page includes:
About adding a domain
You can add a domain either as part of a new integration or as part of an existing integration:
Adding a domain to a new integration
The required procedures are the same as those that must be performed when you on-board a new integration. For details, see:
|
Integration |
For details, see... |
|---|---|
|
Google Workspace |
|
|
Microsoft 365 - Inline |
|
|
Microsoft 365 - API |
|
|
Microsoft Exchange |
|
|
"Other" email services |
Adding a domain to an existing integration
You can add a domain to an existing Microsoft 365 Inline integration or to an existing Google Workspace integration. In certain circumstances, it is possible to add a domain to an existing Microsoft 365 API integration. The required procedures are shown below.
|
Note: You can NOT add a domain to any of the following existing integrations:
In both of the above scenarios, to add a domain to an existing integration, it is necessary to re-perform the full on-boarding procedure. See the table above for details. |
Adding a domain to an existing Microsoft 365 Inline integration
To add a domain to an existing Microsoft 365 Inline integration:
-
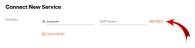
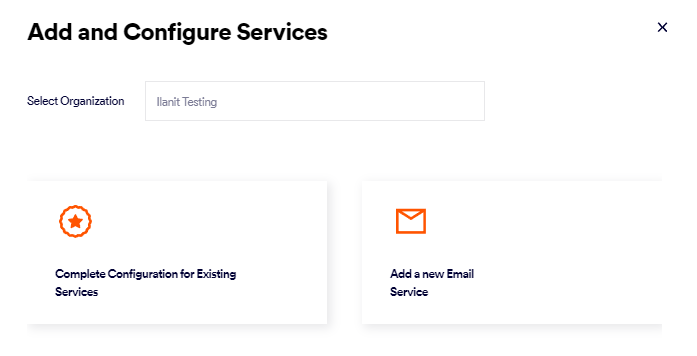
In Perception Point X‑Ray, click on the Add Services icon [
 ] on the right side of the Perception Point X‑Ray banner.
 The "Add a New Service" dialog box opens.

-
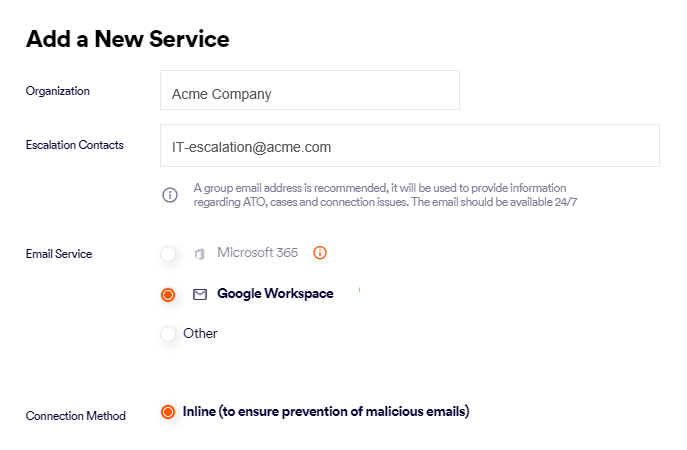
Make sure that Email Service > Microsoft 365 is selected.
-
Make sure that Connection Method > Inline is selected.
-
Click Next. The Connect New Service dialog box opens.

-
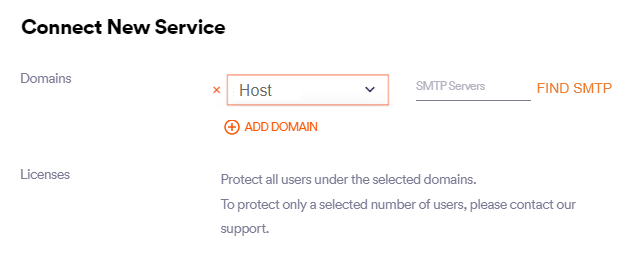
On the right of Domains, click Host, and select the domain to add for protection.
Note: The list of domains shows only the domains that were detected in your organization's Microsoft 365 account - and only those domains that are not already configured to be protected.
-
Click FIND SMTP to the right of the domain name.
This should populate the SMTP Servers field. This is the address to which mail will be sent after it has been scanned and marked as being clean.
The required SMTP server is a server in your domain - as it appears in the MX record.
Important: Do not enter a value such as smtp.office365.com or outlook.office365.com or smtp.gmail.com.
 Checking your SMTP server manually
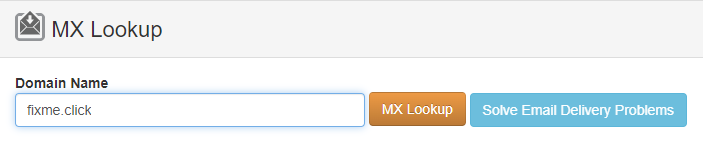
You can perform the lookup procedure below to check that the SMTP server that appears is correct:
-
-
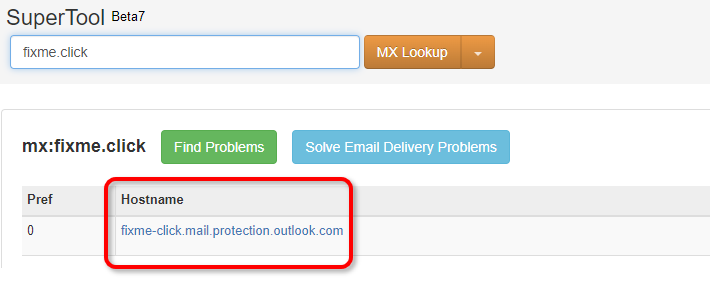
In Domain Name, enter your domain name - and then click MX Lookup.
Your required SMTP server will appear under Hostname.
-
-
[Optional] Click Add Domain - if more than 1 domain is required - and enter the required details.
Licenses: By default, Perception Point X‑Ray will protect all email users in the domains that you specified above. To protect only a limited number of users, contact Perception Point Support.
-
Click Next.
The "Add TXT Records" dialog box opens. This dialog box includes the TXT record names and TXT record values, that you'll need in order to add and verify the TXT records for your domain - in the next step.

-


|
Continue with Verifying your domains. |
Adding a domain to an existing Google Workspace integration
To add a domain to an existing Google Workspace integration:
-
In Perception Point X‑Ray, click on the Add Services icon [
] on the right side of the Perception Point X‑Ray banner.
-
Click "Add a new Email Service". The Add a New Service dialog box opens.

-
Make sure that Email Service > Google Workspace is selected.
-
Click Next.
|
|
Continue with Verifying your domains. |
Adding a domain to an existing Microsoft 365 API integration
The actions that are required to add a domain to an existing Microsoft 365 API integration vary, depending on the protection method that is configured for the Microsoft 365 API integration:
-
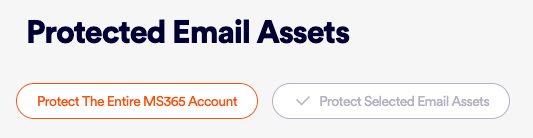
Protect the organization's entire Microsoft 365 account: Domains that are added to the organization's Microsoft 365 account - after the Microsoft 365 API integration was configured - will be automatically protected; it is not necessary to make any changes to the configuration in Perception Point X‑Ray.
-
Protect selected email assets: For details on how to add a domain to an integration that is currently configured to protect only specified domains, see Editing the protected assets.
To determine which protection option is configured in your organization, visit the Protected Email Assets page. For details, see Full protection vs Partial protection.
See also:
