|
IMPORTANT: Some of the functionality on this page may not yet be available. For details on availability, contact Perception Point Support [support@perception-point.io]. |
This page includes:
About customizing Perception Point X‑Ray
You can customize various aspects of Perception Point X‑Ray, including:
-
The organization logo
-
End-user email alerts and reports
-
Time zone
The Customization section in the Preferences page lets you configure the customization settings for your organization. To open the Preferences page:
-
In Perception Point X‑Ray, in the left navigation menu, select Account > Preferences.
|
Note:
|
Configuring the customization settings
To configure the customization settings:
-
In Perception Point X‑Ray, in the left navigation menu, select Account > Preferences.
-
Scroll down to the Customization section towards the bottom of the page.
-
Click the Edit [
 ] icon.
 -
Specify the required settings. For details, see Customization - All settings below.
Customization - All settings
Use these settings to customize various aspects of Perception Point X‑Ray:
Customization - Organization Logo
|
Organization Logo
|
|||
|
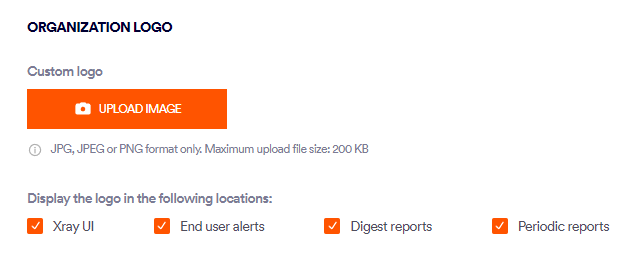
Custom Logo |
The custom logo replaces the "Perception Point X‑Ray" logo in various places. You specify the places below. Replacing the default logo is typically done for white-labeling or branding purposes. Click Upload Image to upload the file that contains your organization logo.
|
||
|
Display the logo in the following locations |
Specify where the custom logo [uploaded above] will be displayed:
|
||
|
Display different custom logo for Xray UI dark theme |
Lets you upload a custom logo that will be displayed on the left side of the Perception Point X‑Ray banner when the dark theme is used. For details on the dark theme, see Selecting the display theme.
This option appears only if a custom logo is selected to be displayed in the "Xray UI" [see above]. |
||
Customization - End-user email alerts and reports
|
End-user email alerts and reports
|
|||
|
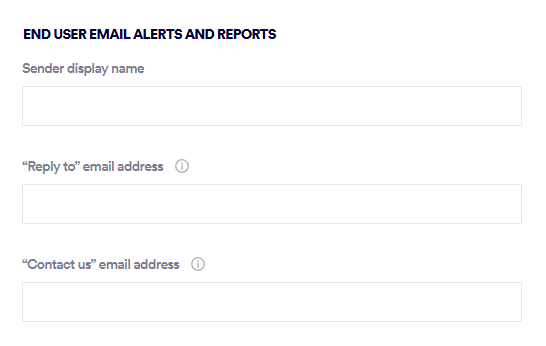
Sender display name |
Replaces the default Sender display name in:
By default, the Sender display name is "Perception Point"
|
||
|
"Reply to" email address |
Replaces the default Reply-to email address in:
By default, the Reply-to email address is "support@perception-point.io" The specified Reply-to address will be the target address when users click "Reply" in a customized alert email or Digest report. |
||
|
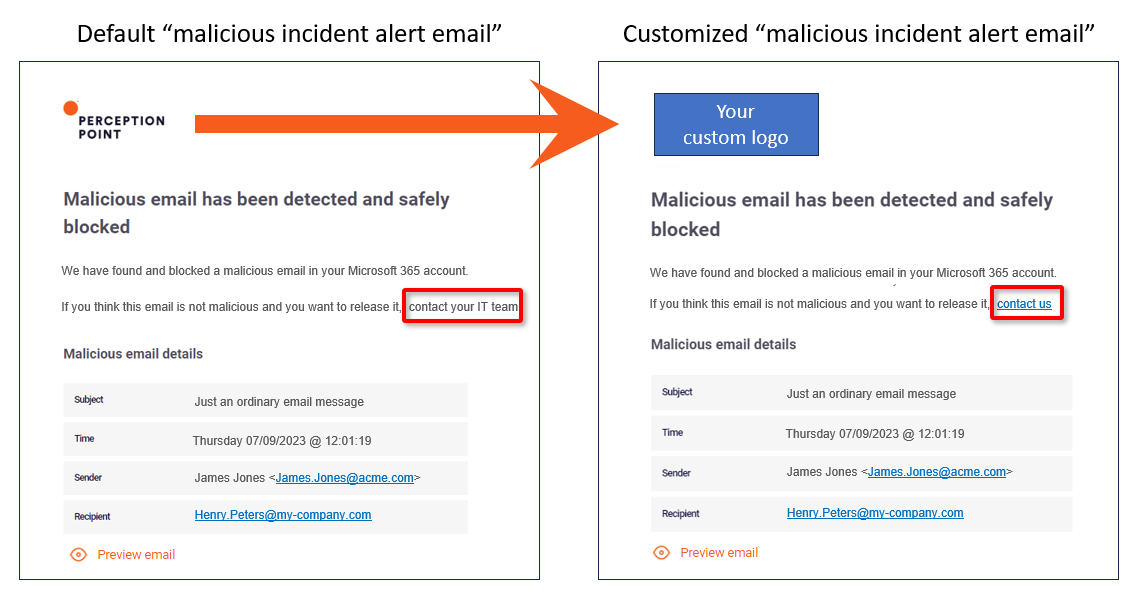
"Contact us" email address |
By default, "malicious incident alert emails" include the message below [without a "contact us" link at the end]:
If you specify a "Contact us" email address, then the above message is modified to include a "contact us" link:
When a user clicks "contact us", an email message will be opened, addressed to the specified "Contact us" email address. This simplifies the process of requesting quarantined emails to be released. |
||
|
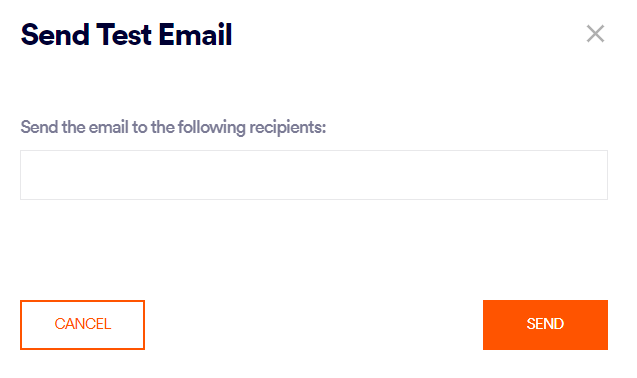
Send test email |
Sends a test "malicious incident alert email" - that incorporates all the custom settings above. This enables you to check that the customized "malicious incident alert emails" are correctly configured. You can specify one-or-more email addresses to which to send the test email.
|
||
Customization - Time zone
|
Organization time zone |
By default, the times that appear in all email alerts and reports - are UTC times. If you select a time zone for your organization, all email alerts, digest reports, and periodic reports will show the selected time zone. The "Organization time zone" setting is applied all users in your organization - in all time zones.
|
|
See also:
