This page includes:
About onboarding Microsoft 365 - Inline
You can integrate "Acronis Email Security" with Microsoft 365. This enables "Acronis Email Security" to protect all incoming mail to a Microsoft 365 or Exchange On-Prem installation.
This page describes how to integrate "Acronis Email Security" with Microsoft 365 using the inline method. For details on how to integrate "Acronis Email Security" with Microsoft 365 using the Microsoft API, see Onboarding Microsoft 365 [API]
-
For a comparison between the Microsoft API and Inline connection methods, see Comparing the Microsoft 365 Inline and API integration methods.
Note:
-
Partial domain protection is NOT supported with Microsoft 365 Inline integrations.
-
Partial domain protection IS supported with Microsoft 365 API integrations.
-
By default, the Microsoft 365 integrations monitor incoming emails only - not outgoing emails, nor internal emails. [Internal emails are emails that are sent between protected domains in the same organization.]
-
Outbound monitoring can be configured for Microsoft 365 - see Onboarding Microsoft 365 - Outbound
-
Internal email is not monitored.
|
Note: You can include only a single Microsoft 365 tenant in any "Acronis Email Security" organization. To add multiple Microsoft 365 tenants, create additional organizations in "Acronis Email Security", and then configure the required Microsoft 365 tenants and domains in those organizations. |
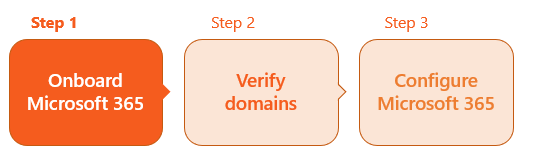
This page describes Step 1 of the procedure to integrate Microsoft 365 with "Acronis Email Security":

A bit more about the Microsoft 365 - inline integration
Onboarding process
-
Customer onboarding involves adding the domain name and verifying a TXT record in the system.
-
There is a Fortinet script to automatically add and configure the required rules and connectors, and to allowlist the Fortinet IPs.
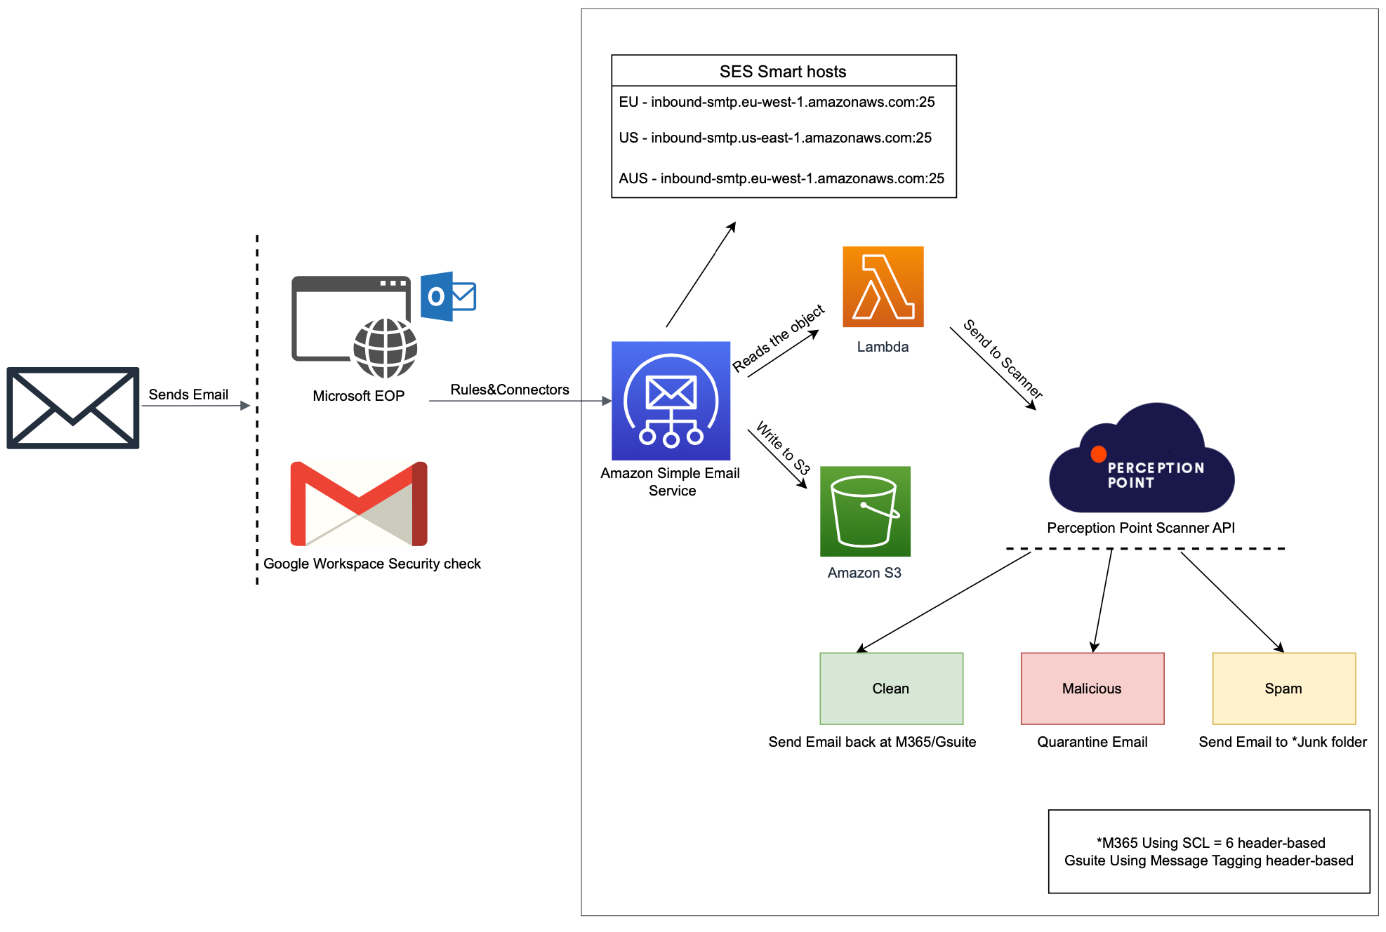
Email flow overview
-
Inbound emails initially route through the
-
Leveraging
Scanning and response
-
Clean: Emails that are assigned the clean verdict are sent back to the
-
Spam: Emails that are assigned the spam verdict are given a "X-PERCEPTION-POINT-SPAM: FAIL" header.
-
In Microsoft 365, the SCL (spam confidence level) is adjusted to 6 via Rule, designating the email as spam.
-
-
Malicious: Emails that are assigned the malicious verdict do not return to the
-
This proactive prevention stops the malicious emails from reaching the recipient's Inbox.
-
|
Note: When using the inline integration method, all emails are scanned by Microsoft Defender before being redirected to "Acronis Email Security" for further scanning. In some cases, Microsoft Defender may quarantine the email during its initial scan. As a result, the email won't be redirected to "Acronis Email Security" for scanning, and no scan will be created. Scan details may not appear in "Acronis Email Security". For additional details, see Quarantined by Microsoft. |
Step 1 - Onboarding Microsoft 365
Step 1 adds one or more domains that contain the email addresses that will be protected by "Acronis Email Security".
This step of the onboarding process includes enabling the "Acronis Email Security" remediation application [also known as the M365 APP - see step 8 below]. This application enables emails to be removed from a user's Inbox if a malicious scan verdict is assigned - after the email has been delivered. For details on the remediation app, see Remediation App.
Perform Step 1 in "Acronis Email Security":
-
In the navigation panel on the left, select Settings > Bundles and Channels.
-
Under Enabled Channels, locate Email Service, and then click Email service configuration [
 ] on the right.
 -
Click Add New Domain - if this option appears.
Note: If the pop-up does not appear, make sure that pop-ups are not blocked on your computer.
-
Select the Organization - if necessary.
Note: Make sure to select the organization in which the scanning will occur. This is typically a child organization - not a parent organization.
-
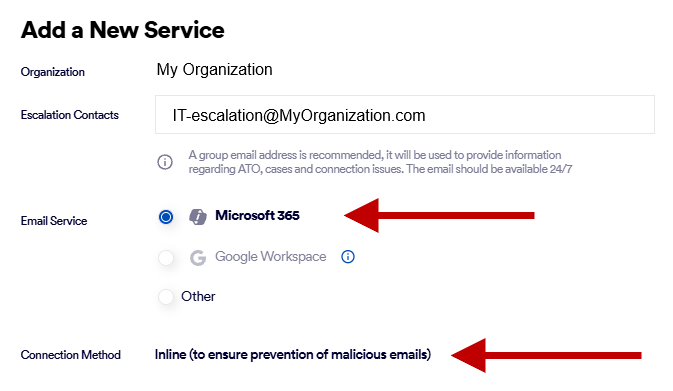
Specify the Escalation Contacts. For details, see Escalation contacts.
-
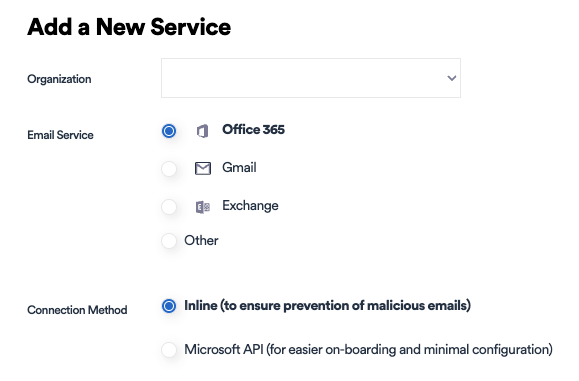
For Email Service, select Microsoft 365.
-
For Connection Method, select Inline.
-
Click ENABLE M365 APP or Next - in the bottom right corner. [This is the remediation app.]
Important: If the ENABLE M365 APP button is not enabled, make sure that you have specified an escalation contact above.
-
You'll be redirected to sign-in to your Microsoft account.
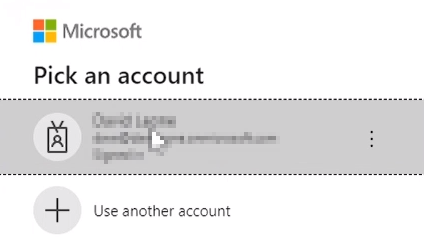
Note: If the Microsoft sign-in pop-up does not appear, make sure that pop-ups are not blocked on your computer.
-
Sign-in to your Microsoft account as a global admin.
Important: The account must have admin permissions in the Microsoft 365 tenant.
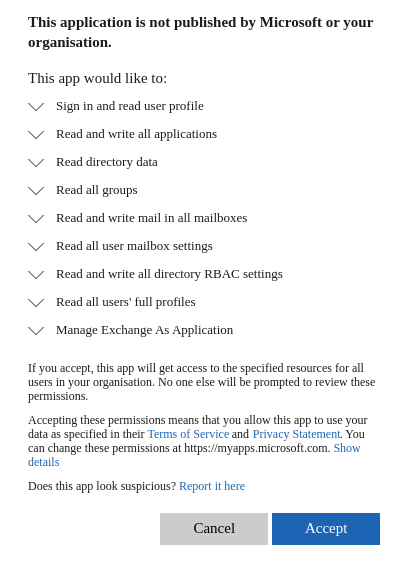
You'll see a list of the permissions that are required.
-
Click Accept.
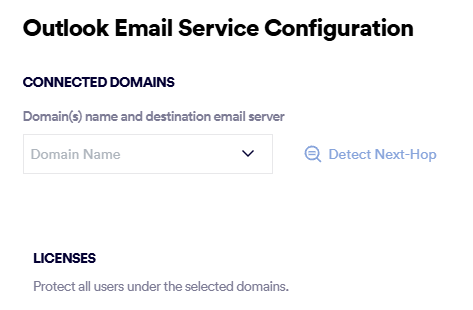
The Outlook Email Service Configuration dialog box opens.
-
-
Under Connected Domains, on the right of Domain Name, click the down-arrow, and select the domain to add for protection.
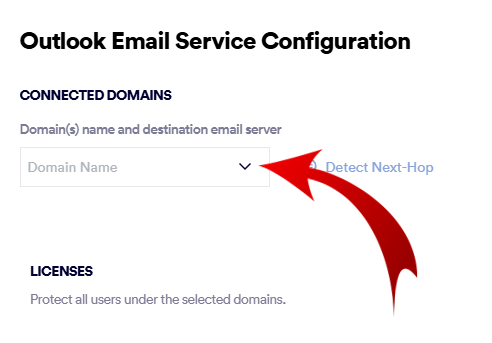
Note: The list of domains shows only the domains that were detected in the Microsoft 365 tenant that is associated with the current "Acronis Email Security" organization - and only those domains that are not already configured to be protected. To add domains that are not included in the current Microsoft 365 tenant, create a new organization in "Acronis Email Security", and then configure the required Microsoft 365 tenant and domains in that organization.
-
Click Detect Next-Hop to the right of the newly selected domain.
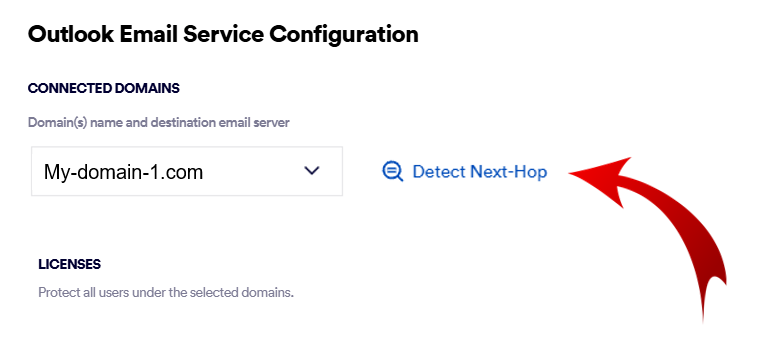
This should populate the Server field with a server address. This is the address to which mail will be sent after it has been scanned and marked as being clean.
Important:
-
The required Server is a server in your domain - as it appears in the MX record.
-
Do not enter a value such as smtp.office365.com or outlook.office365.com
 Checking your Destination Mail server manually
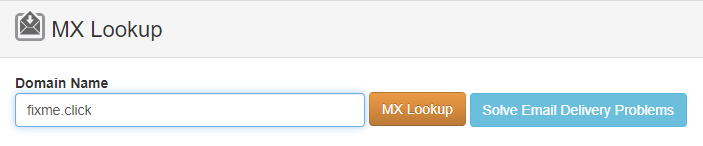
You can perform the look-up procedure below to check that the Destination Mail Server that appears is correct:
-
-
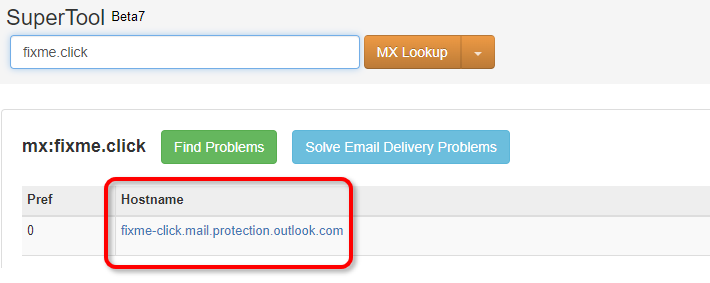
In Domain Name, enter your domain name - and then click MX Lookup.
Your required SMTP server will appear under Hostname.
-
-
[Optional] Click Add Domain - for each additional domain to be protected - and enter the required details [as described in the previous 2 steps].
-
Licenses: "Acronis Email Security" will protect all email users in the domain or domains that you specified above.
Note:
-
Partial domain protection is NOT supported with Microsoft 365 Inline integrations.
-
Partial domain protection IS supported with Microsoft 365 API integrations.
-
-
Click Next.
The "Add TXT Records" dialog box opens. This dialog box includes the TXT record names and TXT record values, that you'll need in order to add and verify the TXT records for your domain - in Step 2.

If multi-region is enabled, there will be details for TXT records in both the primary and secondary regions. For details about the multi-region functionality, see Multi-region.

|
You must now verify the new domains that you added above. For details, see Step 2- Verifying your domains [Microsoft 365]. |
See also:
