This page includes:
About onboarding Microsoft 365 - Outbound
You can configure "Acronis Email Security" to scan outgoing [outbound] emails to detect malicious file attachments and malicious URLs. This outbound functionality can be added to inbound Microsoft 365 integrations - [Inline and API]. The outbound integration functionality is performed using the Microsoft 365 API connection method.
|
Note:
|
Scan results for outbound emails will appear in the Scans page. In the Scans page, you can click the Outbound email filter icon [![]() ] to show scan results for outbound email only.
] to show scan results for outbound email only.
|
|

|
Licensing: There are no additional licensing requirements for enabling outbound scanning. |
Onboarding procedure: Microsoft 365 - outbound
Perform the following procedure to add outbound scanning to either a Microsoft 365 Inline integration or a Microsoft 365 API integration.
The onboarding procedure includes these 3 steps:
Step 1: Enabling outbound mail scanning
Outbound email can be configured to be scanned only if this "outbound" functionality is enabled - as described below.
-
In "Acronis Email Security" - in the left navigation menu, select Settings > Bundles and Channels.
-
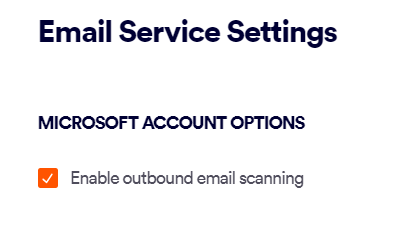
Under Enabled Channels, on the right of Email Service > Microsoft 365, click Email Service Settings.
The "Email Service Settings" sidebar opens.
-
Click Edit [
 ].
]. -
Under Microsoft Account Options, select the "Enable outbound email scanning" check box.
-
Click Save.
Step 2: Configuring outbound mail scanning
After outbound scanning is enabled, as described above, you can configure the required outbound functionality, as described below.
-
Select Settings > Bundles and Channels.
-
Under Enabled Channels, locate Email Service, and then click Email service configuration [
 ] on the right.
 -
Click Add A New Email Service - if this option appears.
-
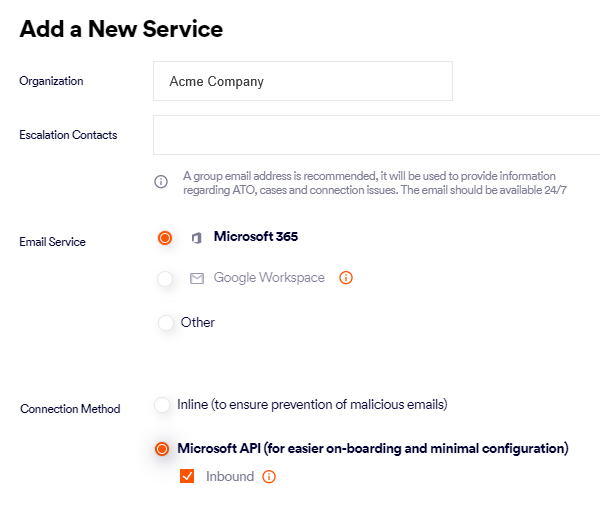
Select the Organization - if necessary.
-
Specify the escalation contacts. For details, see Escalation contacts.
-
In Email Service, select Microsoft 365.
-
In Connection Method, select Microsoft API.
-
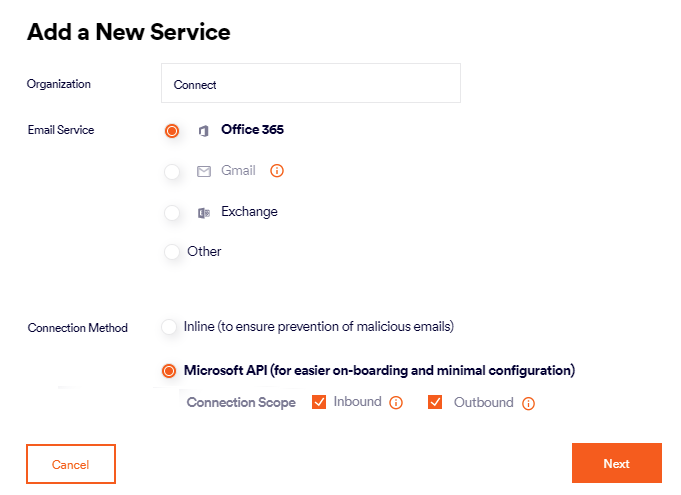
Connection Scope:
-
Inbound:
-
If the Microsoft 365 API Inbound integration is already configured in your organization, then the Inbound check box should be automatically selected. Make sure that the Inbound check box is selected. If you clear the Inbound check box, then the existing API Inbound integration may be removed.
-
If the Microsoft 365 Inline Inbound integration is already configured in your organization, then the Inbound check box should be cleared, and the check box should be disabled.
-
-
Outbound:
-
Select Outbound.
Note that the Outbound option appears only if outbound scanning is enabled, as described in Step 1 above.
-
-
-
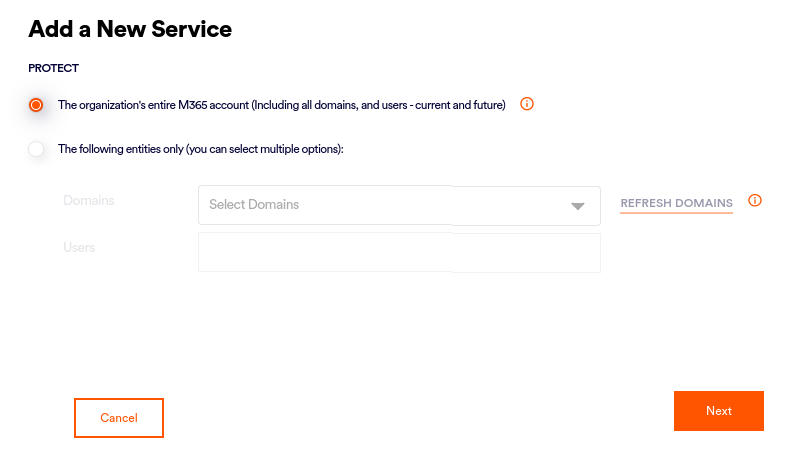
Click Next - to open the next step in the onboarding wizard.
-
Select the domains/groups/users that will be scanned.
Important:
-
If inbound scanning uses Microsoft 365 API: The domains/groups/users that you specify now will be applied to inbound and outbound scanning, and will override any previous configurations.
-
If incoming scanning uses Microsoft 365 Inline: You can select any domains/groups/users to scan. This will apply to outbound scanning only, and will NOT affect inbound scanning.
-
-
Click Next. A summary of the new email service will be displayed.
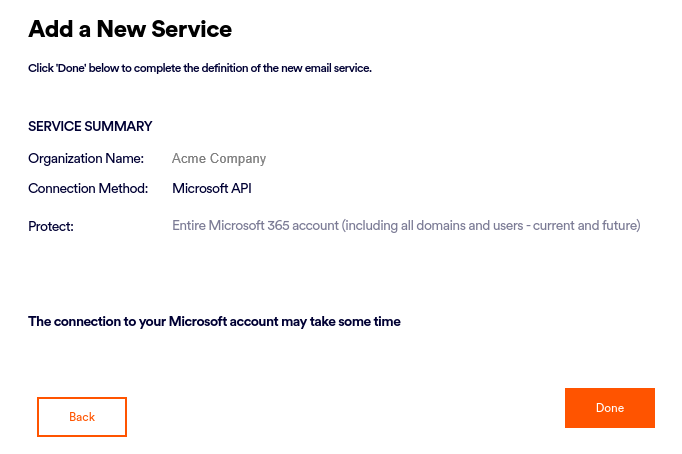
-
Review the details, and then click Done.
Step 3: Confirming the connection
After you enable and configure the "outbound" functionality - as described above - you can verify that the outbound functionality is now active.
-
In "Acronis Email Security" - in the left navigation menu, select Settings > Bundles and Channels.
-
Under Email Service > Microsoft 365, verify that:
-
Outbound email scanning is Enabled
-
the Connection scope includes Outbound
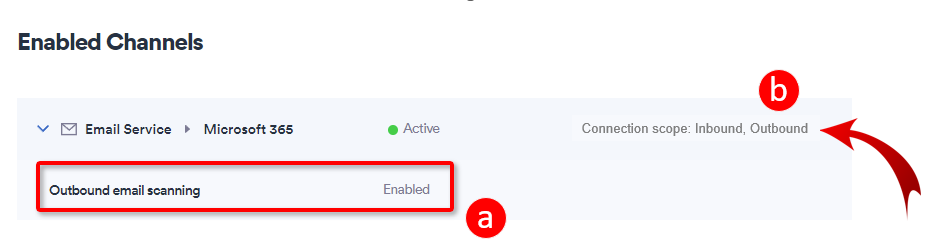
Important: If Outbound email scanning is not displayed as Enabled, refresh the page, and then recheck the Outbound email scanning status.
When the outbound integration is correctly configured, scan results will appear in the Scans page. In the Scans page, you can click the Outbound email filter icon [
 ] to show scan results for outbound email only.
 -
See also:
