This page includes:
About extension rules
You can define extension rules that deactivate risky and unwanted extensions in your organization. You define extension deactivation rules in the Extension Rules tab of each policy. Deactivation is based on attributes of the extension, such as:
-
The extension ID
-
The risk level of the extension
-
The permissions that are required by the extension
-
The Extension Store from which the extension was installed
-
Whether the extension uses Gen AI
|
Attribute |
Description |
|
|---|---|---|
|
Extension ID |
You can prevent extensions from being enabled in your organization - based on the 32-character extension ID of the extension. |
|
|
Risk Level |
You can prevent extensions from being enabled - based on the spin.ai risk score of the extension. You specify the risk levels that will cause an extension to be disabled. For more information about spin.ai scores and risk levels, see Managing 3rd-Party Extensions.
|
|
|
Permissions |
Browser extensions require permissions to access and modify certain aspects of your browser and online activity. These permissions are crucial for the extension's functionality, but they also raise privacy and security concerns. You can prevent extensions from being enabled - based on the permissions that are required by the extension. You specify the permissions that will cause an extension to be disabled. To see which permissions are required by any installed extension, see the Extension Analysis page [Extension Analysis log details.]
|
|
|
Lets you disable extensions that originate from an Unknown Source, and not from the Official Marketplace.
To see the extension store that is associated with any installed extension, see the Extension Analysis page [Extension Analysis log details.] |
||
|
Extension uses GenAI |
Lets you disable extensions that are detected to use Gen AI. Detection of Gen AI usage in an extension is performed by spin.AI. To show a list of the extensions that use Gen AI, see Managing 3rd-Party Extensions. |
-
For details about any of the above attributes for any installed extension, see Managing 3rd-Party Extensions.
-
You can also disable extensions based on the scan verdict of the extension. For details, see Browser extension detection settings.
Precedence
Scenario: An extension should be disabled due to the scan verdict. The same extension is allowed to be installed by an extension rule.
Result: The extension will be disabled. The verdict-based disablement takes precedence over the extension rule.
Opening the Extension Rules tab
To open the Extension Rules tab:
-
In the FortiMail Browser Security console, open the Policies page.
-
Open an existing policy or add a new one.
-
Click the Extension Rules tab.
Adding a new extension deactivation rule
When you add a new extension deactivation rule, you specify:
-
The condition or conditions that must be matched in order for the rule to apply
-
The action to perform when the condition is matched
|
Note
|
To add a new extension rule:
-
In the FortiMail Browser Security console, open the Policies page.
-
Open an existing policy or click "Add new policy" to add a new one.
-
Click the Extension Rules tab.
-
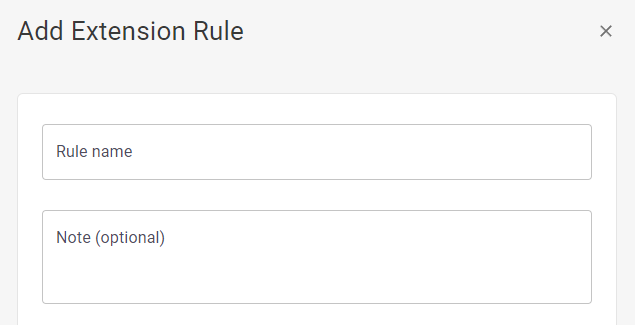
Click Add Extension Rule or Add new rule.
-
Enter a name for the new extension rule.
-
[Optional] Specify a note for the new rule. This lets you describe the rule in any way that is useful.
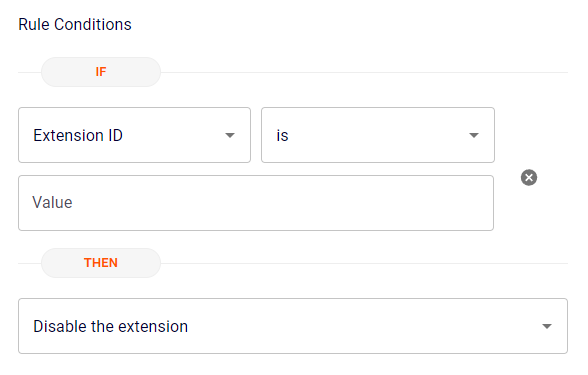
Rule conditions [If]
-
Use the available controls to define the condition - or the conditions - for the new rule. Each condition can be based on any of the following:
Attribute
Description
Extension ID
-
Specify extension IDs for Google Chrome and Microsoft Edge extensions only. Don't specify extension IDs for Firefox or Safari extensions.
Risk Level
Permissions
Extension Store
-
-
[Optional] Click Add condition - if any additional conditions are required.
Note: You can include up to 10 conditions in any rule.
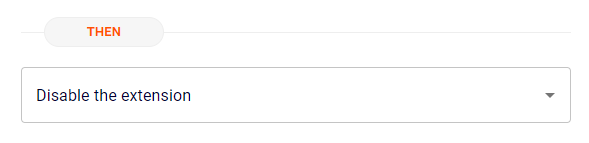
Action [Then]
-
Select the action for the new rule, either "Allow the extension" or "Disable the extension".
-
[Optional] Clear the Report events check box if you don't want events that are triggered by this rule to be sent to the following:
-
the Events page in the FortiMail Browser Security console
-
the Events page in FortiMail Workspace Security
-
SIEM integrations
Clearing the Report events check box is typically done for privacy reasons, so that there is no record of extensions that have been disabled due to applied policies.
-
-
Click Add rule or Update rule.
-
Click Save to save the configuration of the new or updated extension deactivation rule.
-
[Optional] If required, you can reorder the extension rules by using the drag-and-drop controls on the left of the rules grid.
-
Click Save.
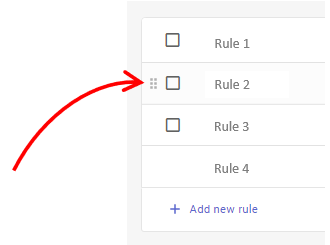
Setting the rule order
If there are multiple extension rules, then the order of the rules is significant. Where applicable, the first rule in the tabled that is matched is applied. If required, you can reorder the extension rules by using the drag-and-drop controls that are located on the left of the rules grid.
How extension deactivation works - based on extension ID
You can add rules that specify which extensions can't be enabled in your organization - based on the extension ID. The extensions that are blocked from being enabled due to the rules that you define, are included in a list that is called the "3rd-party extension blocklist". After you have created rules to add extensions to the "3rd-party extension blocklist", enforcement of the extension policy occurs in the following two scenarios:
-
When an end-user tries to install or enable a 3rd-party extension, the FortiMail Browser Security extension checks if the 3rd-party extension is included in the "3rd-party extension blocklist". If it is included in the blocklist, then the extension is installed, but it is not enabled. In addition:
-
An entry is recorded in the Events log - with the "Extension disabled by policy" activity. For details, see Events Page.
-
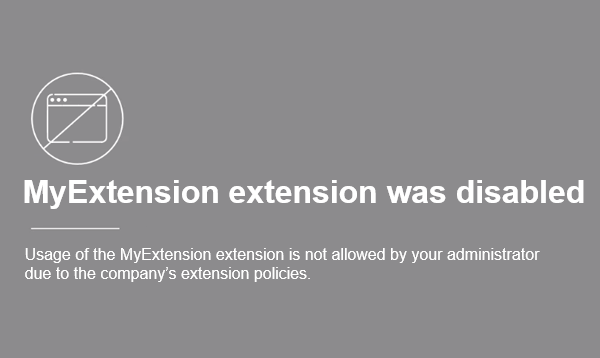
A block-page is displayed in a new browser tab, explaining to the end-user that the extension was not enabled - due to the organization's browser extension policies.
-
-
When an extension is added to the "3rd-party extension blocklist", FortiMail Browser Security checks if the extension is enabled on any device of any end-user. If the extension is enabled on any device, the extension is then disabled. No notification is sent to affected end-users.
How extension deactivation works - based on risk level
After you have created and enabled risk-level-based policy enforcement in your organization, enforcement of the policy works as follows:
-
When an end-user tries to install or enable a 3rd-party extension, the FortiMail Browser Security extension checks the risk level of the 3rd-party extension. If the risk level is included in the list of levels to block, then the extension is installed, but it is not enabled. In addition:
-
An entry is recorded in the Events log - with the "Extension disabled by policy" activity. For details, see Events Page.
-
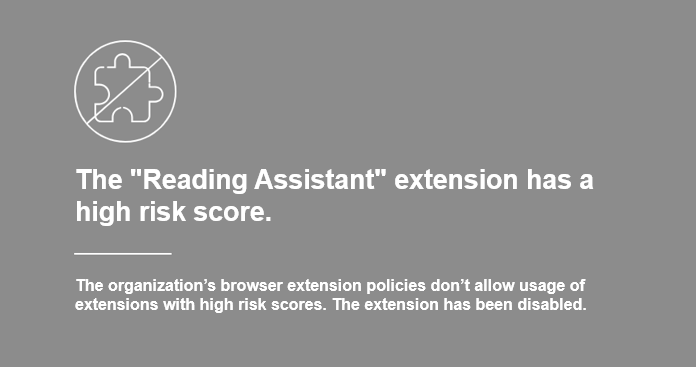
A block-page is displayed in a new browser tab, explaining to the end-user that the extension was not enabled - due to the organization's browser extension policies that don't allow extensions with specified risk levels.
-
-
When risk-score-based policy enforcement is enabled [or the associated risk level is modified], FortiMail Browser Security checks the risk levels of all enabled extensions. Extensions with the specified "risk levels to block" are then disabled. No notification is sent to affected end-users.
|
Note:
|
Allowing only specific extensions to be enabled
You can allow only specified extensions to be installed and enabled in your organization. To do so, use the risk-level deactivation functionality to prevent all extensions from being enabled [irrespective of their risk scores], and then configure extension rules that include the specific extension IDs of the extensions that are allowed be enabled. These extension-ID rules should be located higher in the rules table than the risk-level deactivation rule.
Limitations
Limitation 1
-
Extension-ID-based extension rules can include extension IDs for Google Chrome and Microsoft Edge extensions.
-
Don't include extension IDs for Firefox or Safari extensions in extension-ID-based extension rules.
Limitation 2
Scenario: A 3rd-party extension is force-installed via Google Workspace. Thereafter, the extension ID is added to a rule that prevents the extension from being enabled.
Result: The extension is not disabled, and the end-user doesn't receive any indication about this.
See also:
