This page includes:
About connecting the extension via UEM solutions
This page describes Step 2 of the managed extension deployment process - Connecting the extension to the FortiMail Browser Security organization.
For an overview of the extension deployment process, see Deploying the extension [Managed deployment].
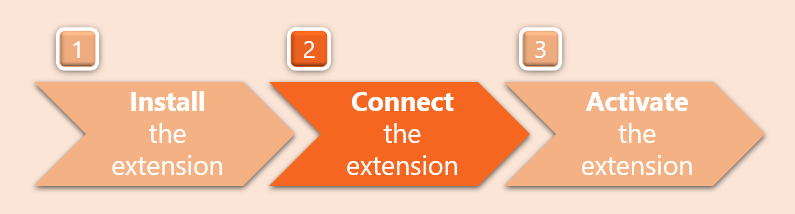
After you have completed Step 1 - installing the extension to the endpoints - the extensions on the endpoints must be connected to the FortiMail Browser Security organization. This connection enables the extension to access policies [and other settings] that are defined for the organization.
The connection is made using an organization token. For details on the organization token, see Organization tokens.
For an overview of the full extension deployment process, see Deploying the extension [Managed deployment].
Extension connection process
The extension connection process varies - depending on the UEM tool that you'll be using to perform the connection, and the environment of the target devices [Windows or MacOS]. There are three options for the connection process. These three connection options are described below:
Option 1 - Connecting via Google Workspace
|
This option uses Google Workspace to connect the extension on Google Chrome browsers - on any operating system. For details on using Google Workspace to deploy the extension, see Deployment via Google Workspace |
What's next

|
You must now make sure that the extension is activated on all profiles on which the extension is installed. For details, see Step 3: Activating the extension on endpoints. |
Option 2 - Connecting on Windows systems
|
This option uses a Windows PowerShell file [that contains the organization token] to connect the extension.
Connection procedure:
|
What's next
|
|
You must now make sure that the extension is activated on all profiles on which the extension is installed. For details, see Step 3: Activating the extension on endpoints. |
Option 3 - Connecting on MacOS systems
|
This option uses a MacOS Shell Script file [that contains the organization token] to connect the extension.
Connection procedure:
|
What's next
|
|
You must now make sure that the extension is activated on all profiles on which the extension is installed. For details, see Step 3: Activating the extension on endpoints. |
See also:
