This page includes:
|
Note: Before implementing this channel integration, contact your Account Manager for FortiMail Workspace Security to make sure that this functionality is included in your current FortiMail Workspace Security license. |
About the Zendesk integration
FortiMail Workspace Security can be integrated with various products. This page explains what configurations are required to integrate FortiMail Workspace Security with Zendesk - to enhance your Zendesk security. This page describes what must be performed by FortiMail Workspace Security Support and what must be performed by you, the customer - to perform the integration.
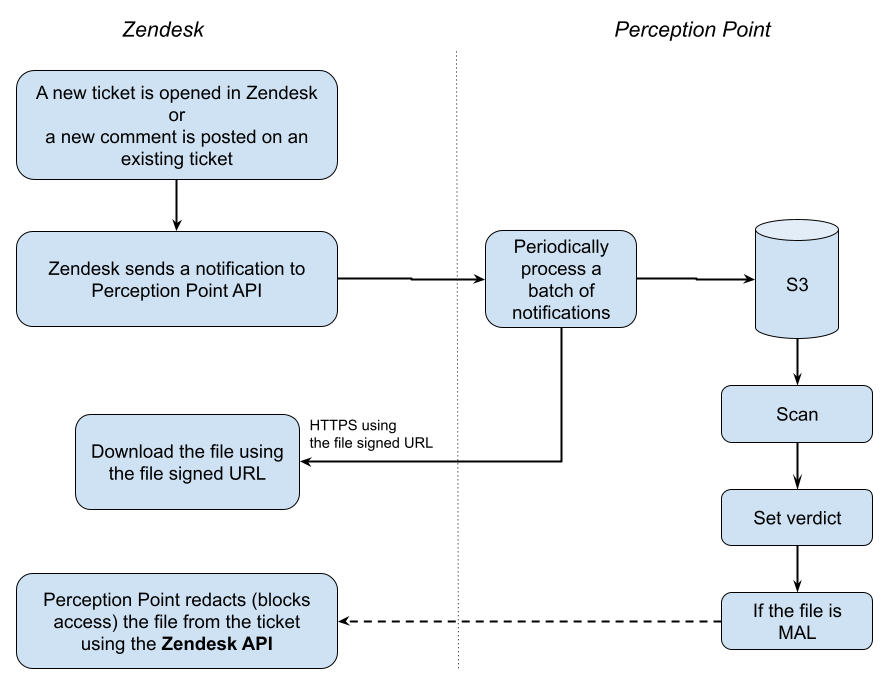
When FortiMail Workspace Security is integrated with Zendesk, FortiMail Workspace Security scans every file that is uploaded to Zendesk - as an attachment to a comment in a ticket. FortiMail Workspace Security also scans any URLs that are included in tickets and comments. Scan details are included in the Scans page in FortiMail Workspace Security. Remember to click the Zendesk filter icon [ ] to show only Zendesk scans.
For general information about integrating FortiMail Workspace Security with other products, see Bundles and Channels.
About quarantining Zendesk files
It is possible to configure the FortiMail Workspace Security-Zendesk integration to quarantine files. A file will be quarantined when a scan assigns a malicious verdict to the file, or when the FortiMail Workspace Security IR Team changes the verdict of a scan to malicious. Quarantine configurations are set by FortiMail Workspace Security in step 4 below.
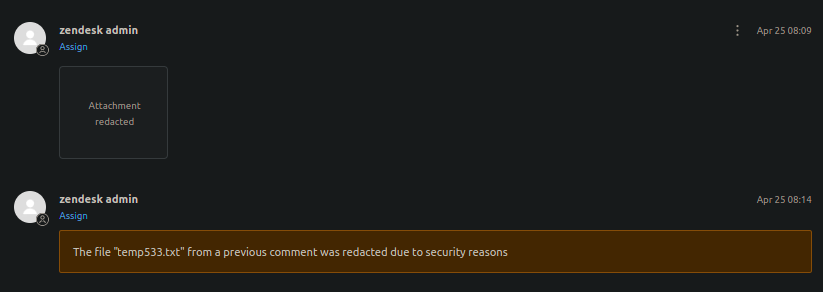
When a file is found to be malicious, either by a FortiMail Workspace Security scan or by the FortiMail Workspace Security IR Team, the file is redacted from the ticket, and an internal note is added to the ticket. It is not possible to access or download the redacted file.
It is possible to configure the FortiMail Workspace Security-Zendesk integration so that a notification email is sent [to specified email addresses] each time a malicious file is found and redacted.
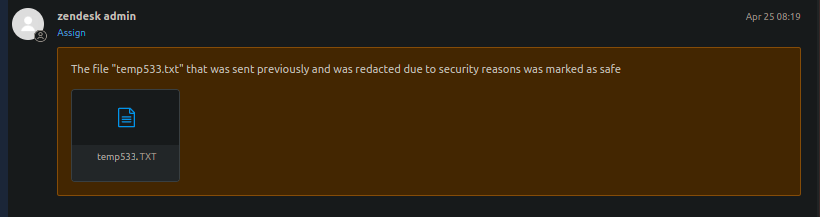
If you think that a quarantined [redacted] file is actually clean, use FortiMail Workspace Security to request the FortiMail Workspace Security IR Team to re-analyze the file. If the FortiMail Workspace Security IR Team finds the file to be clean [and they change the verdict accordingly], the file will be removed from quarantine, and re-attached to an internal note in the Zendesk ticket. For details, see Requesting an investigation.
Quarantine requirements are configured in Step 4 below, by FortiMail Workspace Security Support.
Prerequisites
In order to perform the required integration with FortiMail Workspace Security, make sure that you have the following prerequisites:
-
Zendesk Team Suite plan - or higher
-
Administrator rights in Zendesk
-
Admin role in FortiMail Workspace Security
The Zendesk integration procedure
Perform the procedure below to integrate FortiMail Workspace Security with Zendesk.
|
Step 1 - Activating Zendesk |
|
Step 2 - Verifying the Zendesk connection |
|
Step 3 - Verifying the Zendesk connection - Internal |
Step 1: Activating and configuring the FortiMail Workspace Security-Zendesk integration
This step activates the Zendesk integration in FortiMail Workspace Security.
-
This step must be performed by you, the FortiMail Workspace Security admin-user.
-
You must be an Admin user in Zendesk.
In FortiMail Workspace Security
-
In the left navigation menu, select Settings > Bundles and Channels.
-
Under Assigned Bundles, make sure that at least one bundle is assigned that includes the Zendesk channel.
Note:
-
If a bundle that includes the Zendesk channel is assigned, then Zendesk will appear in the list of channels under Enabled Channels.
-
You can click Bundles Settings, that is located on the right of each Assigned Bundle, to see which channels are included in a bundle.
-
-
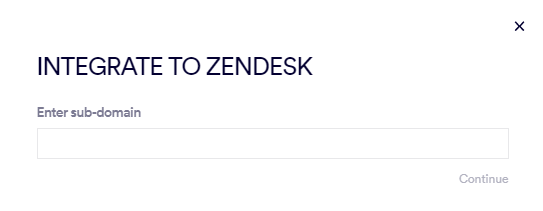
Under Enabled Channels, locate "Zendesk" and then click "Activate". You'll be redirected to this page:
-
Enter your Zendesk sub-domain.
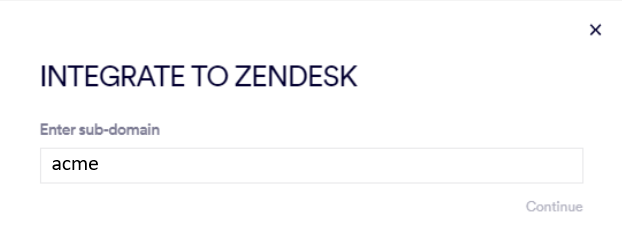
Your Zendesk sub-domain is the text between https:// and .zendesk.com in your Zendesk URL.

-
Click Continue. You'll be redirected to sign-in to Zendesk.
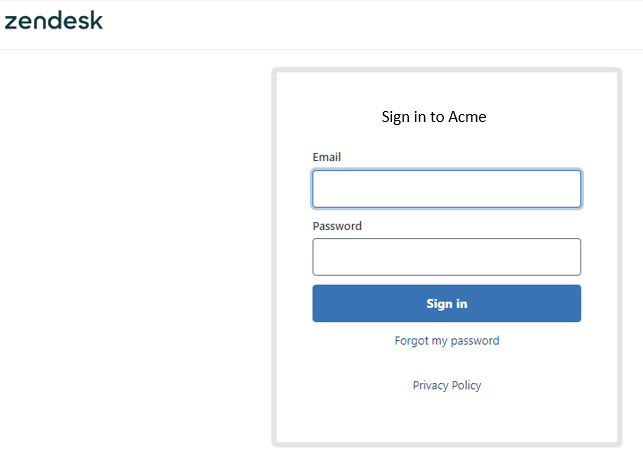
-
Enter your email address and password, and then click Sign in.
Your FortiMail Workspace Security-Zendesk integration should now be functional.
-
Make sure that Zendesk now appears as "Active" under Settings > Bundles and Channels > Enabled Channels.
Step 2: Verifying the Zendesk connection
This step is optional. It should be performed by a FortiMail Workspace Security admin-user after Step 2 has been completed.
-
This step verifies that FortiMail Workspace Security appears as a trigger in Zendesk.
In the Zendesk Admin Center
-
Open the Zendesk Admin Center.
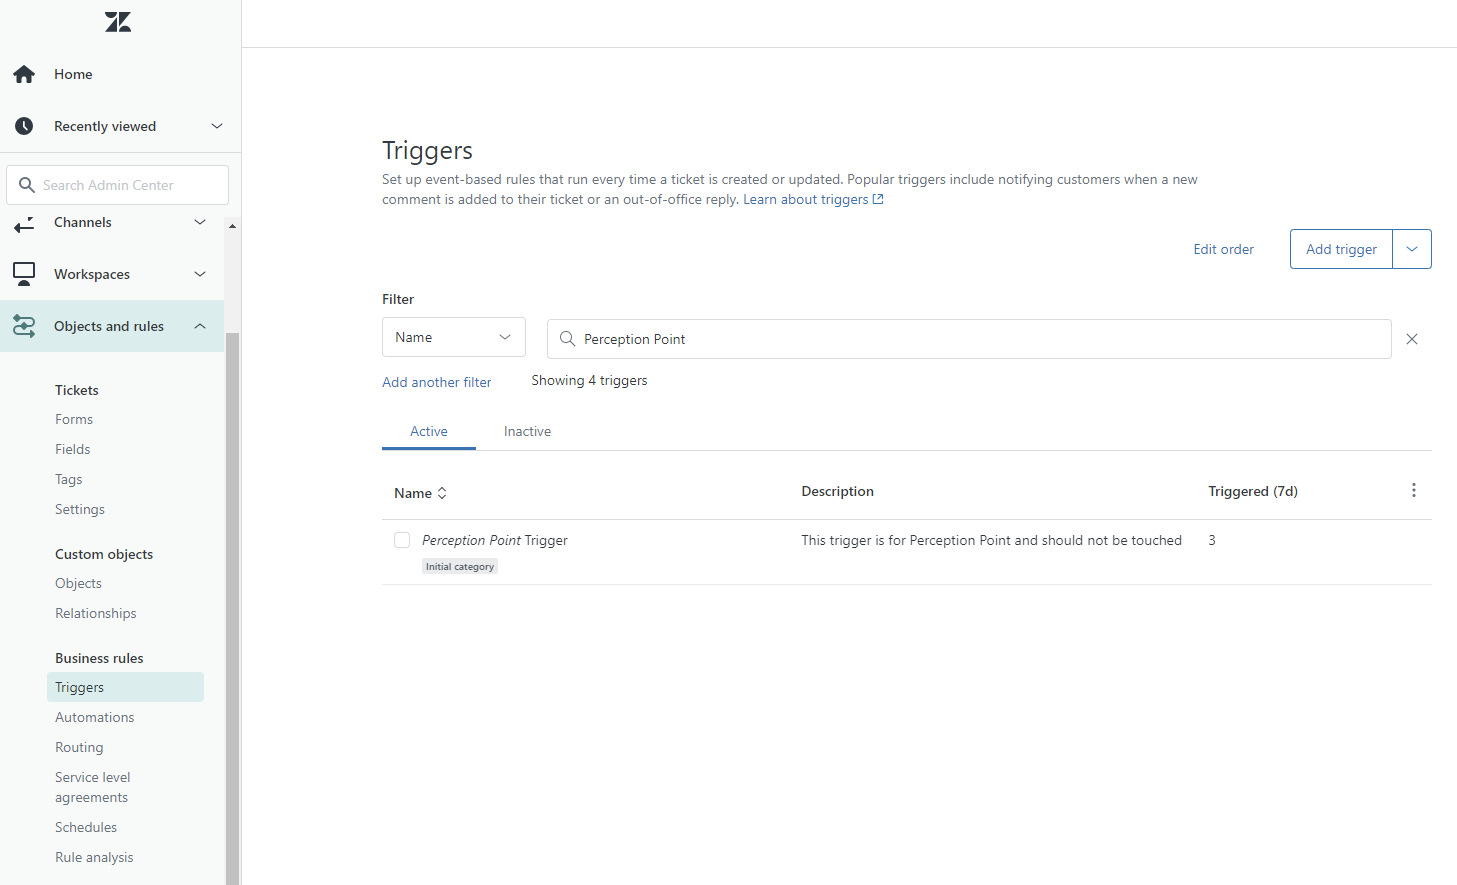
-
Click Objects and rules.
-
Under Business rules, click Triggers.
-
Search for Perception Point.
If Perception Point Trigger appears, your integration has been correctly configured.
Step 3: Verifying the Zendesk connection - Internal
This step is optional. It should be performed by FortiMail Workspace Security Support - after you have completed Step 2.
This step verifies - in the FortiMail Workspace Security internal system - that Zendesk is connected.
-
After you have completed Step 2, contact FortiMail Workspace Security Support [support@perception-point.io] and ask them to perform Step 3.
You can include the text template below in your email:
Subject: Verifying the connection for our Zendesk integration
Hi Perception Point Support Team,
Organization name:
We are performing the integration with Zendesk.
We have completed Step 2.
Please can you perform Step 3 - verify in the FortiMail Workspace Security internal system that Zendesk is connected.
Please will you inform us when Step 3 has been completed.
Thank you
-
FortiMail Workspace Security Support will inform you when Step 3 has been completed.
Your integration between FortiMail Workspace Security and Zendesk is now complete... 
Note: FortiMail Workspace Security Support can now also configure the quarantine requirements for the FortiMail Workspace Security-Zendesk integration.
Flow chart diagram
Hover your cursor over the graphic below to enlarge it ![]()
What gets scanned
|
Note:
|
See also:
