You can integrate FortiMail Workspace Security with Microsoft Exchange. This enables FortiMail Workspace Security to scan all incoming mail to Microsoft Exchange.
This is the 1st step of the procedure to integrate Microsoft Exchange with FortiMail Workspace Security:


Before you begin...
|
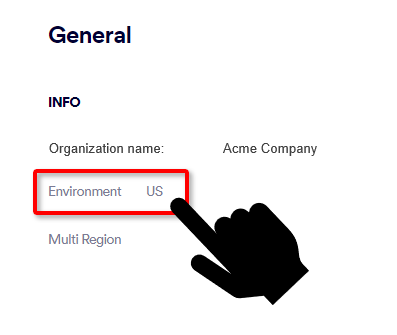
Important If you have a firewall, make sure that the IPs [shown below] are allow-listed in your firewall. The set of IPs varies depending on the environment in which your organization is located. [Open the drop-down below for details on your environment.]
|
Now let's begin...
To on-board Microsoft Exchange:
-
Select Settings > Bundles and Channels.
-
Under Enabled Channels, locate Email Service, and then click Email service configuration [
 ] on the right.
 -
Click Add New Domain - if this option appears.
-
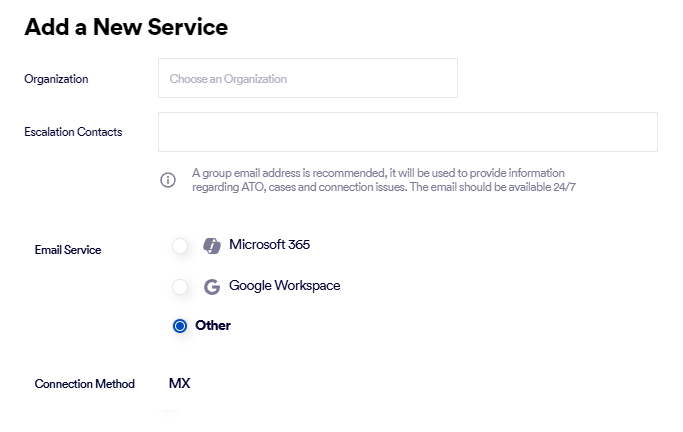
Select the Organization - if necessary.
Note: Make sure to select the organization in which the scanning will occur. This is typically a child organization - not a parent organization.
-
Specify the Escalation Contacts. For details, see Escalation contacts.
-
In Email Service, select Other.
-
In Connection Method, select MX.
-
Click Next.
The next step in the wizard appears.
-
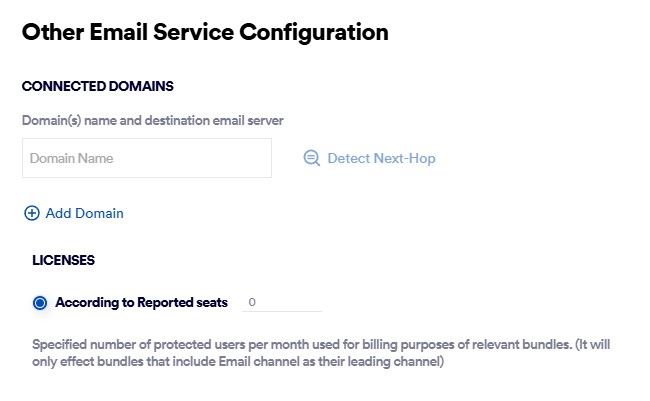
In the Domain Name box, enter the name of the new domain - for example, acme.com
-
Click Detect Next-Hop to the right of the domain name. This should populate the Server or Destination Mail Server field.
This is the address to which mail will be sent after it has been scanned and marked as being clean.
Important: Do not enter a value such as smtp.office365.com or outlook.office365.com
The required Destination Mail Server is a server in your domain - as it appears in the MX record.
 Checking your Destination Mail server manually
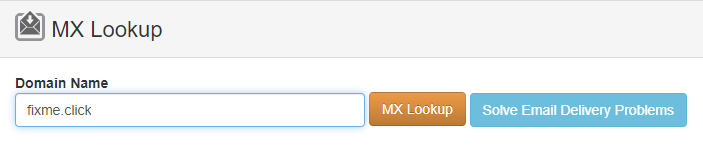
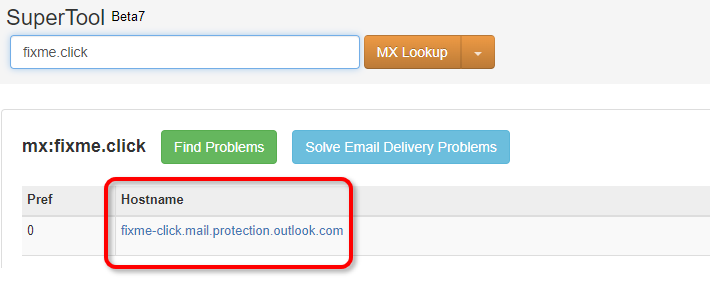
You can perform the lookup procedure below to check that the Destination Mail Server that appears is correct:
-
-
In Domain Name, enter your domain name - and then click MX Lookup.
Your required SMTP server will appear under Hostname.
Error message: 
If you see the error message "This is not a valid SMTP host" - and the specified server is valid, then make sure that the required IPs are allow-listed in your firewall.
For details, see Before you begin... above.
-
-
[Optional] Click Add Domain - if more than 1 domain is required - and enter the required details.
-
Licenses > According to Reported seats: Specify the number of protected users for billing purposes.
-
Click Next.
The "Add TXT Records" dialog box opens.
This dialog box includes the TXT record names and TXT record values, that you'll need in order to add and verify the TXT records for your domain - in Step 2.

If multi-region is enabled, there will be details for TXT records in both the primary and secondary regions. For details about the multi-region functionality, see Multi-region.

|
You must now perform Step 2 to verify the new domains that you added above. For details, see Step 2 - Verifying your domains [Exchange]. |
See also: