You can integrate "Acronis Email Security" with Google Workspace. This enables "Acronis Email Security" to protect all incoming mail from Google Workspace.
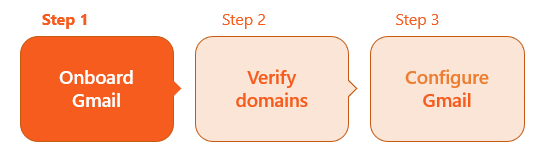
This is the 1st step of the procedure to integrate Google Workspace with "Acronis Email Security" [Inline]:

|
|
 See the available
 About onboarding Google Workspace [Inline]
|
Note: You can include only a single Google Workspace tenant in any "Acronis Email Security" organization. To add multiple Google Workspace tenants, create additional organizations in "Acronis Email Security", and then configure the required Google Workspace tenants and domains in those organizations. |
The onboarding process includes enabling the "Acronis Email Security" remediation app [also known as the G-Suite APP - see step 6 below]. This app enables emails to be removed from a user's Inbox if the scan verdict is set to malicious - after the email has been delivered. For details on the remediation app, see Remediation App.
|
Important: Make sure that Google Workspace "comprehensive mail storage" is disabled before implementing an integration with Google Workspace. If "comprehensive mail storage" is enabled, Malicious emails may not be successfully quarantined. To disable Google Workspace "comprehensive mail storage":
For more information about Google Workspace "comprehensive mail storage", see the official documentation here. |
A bit more about the Google Workspace [Inline] integration
Onboarding process
-
Customer onboarding involves adding the domain name and verifying a TXT record in the system.
-
Configuring the required rules and expressions is done manually.
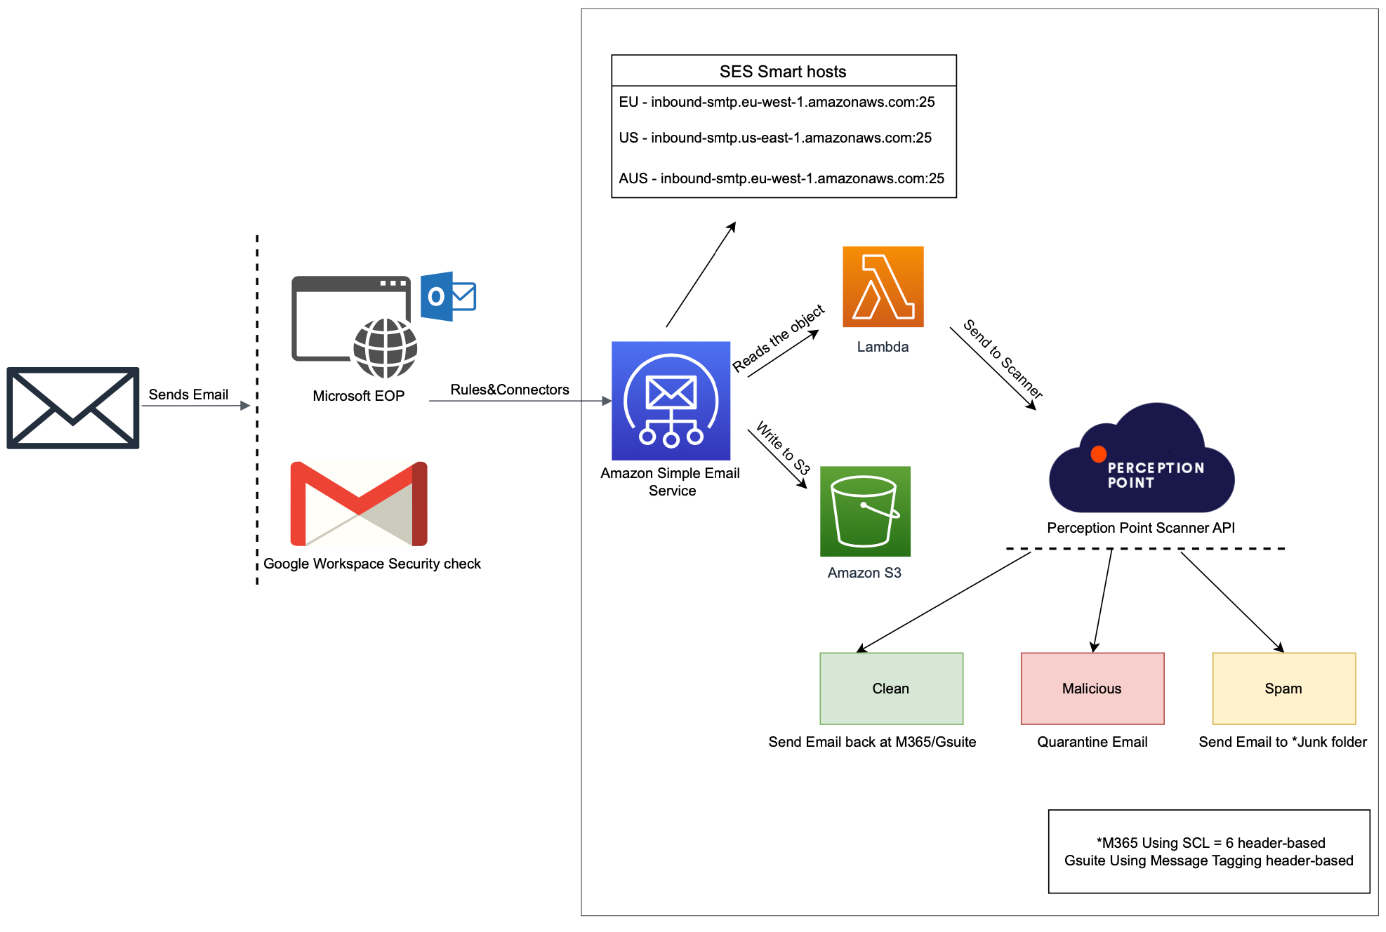
Email flow overview
-
Inbound emails initially route through the
-
Leveraging
Scanning and response
-
Clean: Emails that are assigned the clean verdict are sent back to the
-
Spam: Emails that are assigned the spam verdict are given a "X-PERCEPTION-POINT-SPAM: FAIL" header.
-
In Google Workspace, the Message Tagging header-based system identifies the Perception Point Spam header and redirects the email to the
-
-
Malicious: Emails that are assigned the malicious verdict do not return to the
-
This proactive prevention stops the malicious emails from reaching the recipient's Inbox.
-
Email size limitations
-
"Acronis Email Security" scans email messages up to a maximum size of 40 MB [including attachments]. Emails [including attachments] that are larger than 40 MB are not scanned by "Acronis Email Security" - neither the email messages themselves, nor their attachments - and the emails will be delivered "unscanned" to the specified recipients.
Note:
-
Due to external technical limitations, the 40 MB limitation can't be increased.
-
We recommend that you limit receiving email attachments up to 30 MB in size. Files that are larger than 30 MB should be shared using a different file sharing service, such as Microsoft OneDrive or Google Drive.
-
Which users are protected
|
Commercial installations |
All users in the Google Workspace account will be included in the billing - it is not possible to bill for only a partial group of users. This is true for billing even if partial protection is configured. Partial protection and billing can be used for POC installations only. [See PoC installations below.] If partial protection is configured for an organization with a Commercial contract type, then billing will still be based on the number of licenses that are included in the Google Workspace account - not on the number of "partial protection" users. |
|
PoC installations |
It is possible to protect a partial group of users. When you onboard a Google Workspace email service for a PoC customer, you specify which users to protect. You can choose to protect:
After onboarding Google Workspace for a PoC installation, you can modify the set of users to protect. For details, see Modifying the list of users to protect [Google Workspace] - PoC only. |
Onboarding Google Workspace [Inline] the procedure
To onboard Google Workspace [Inline]:
-
Select Settings > Bundles and Channels.
-
Under Enabled Channels, locate Email Service, and then click Email service configuration [
 ] on the right.
 -
If the "Add and Configure Services" dialog box appears, click "Add a new email service".

-
Click Add New Domain - if this option appears.
-
Select the Organization - if necessary.
Note: Make sure to select the organization in which the scanning will occur. This is typically a child organization - not a parent organization.
-
Specify the Escalation contacts. For details, see Escalation contacts.
-
In Email Service, select Google Workspace.
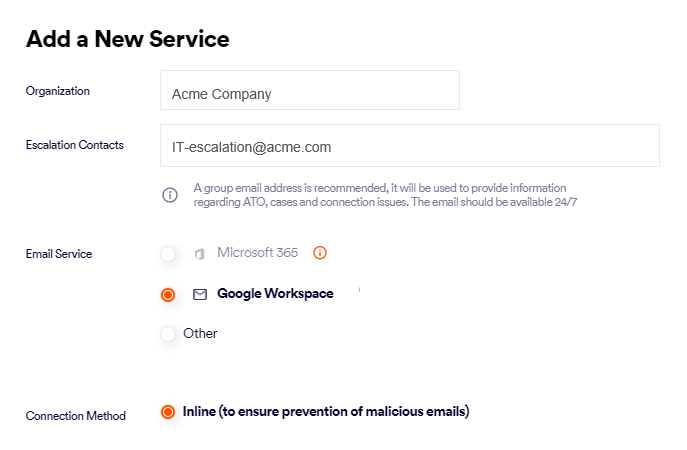
Note: If the Google Workspace option is not enabled, contact "Acronis Email Security" Support [support@perception-point.io].
-
Click ENABLE GOOGLE WORKSPACE APP or Next - in the bottom right corner. [This is the remediation app.]
Important: If the ENABLE GOOGLE WORKSPACE APP button is not enabled, make sure that you have specified an escalation contact above.
-
You'll be redirected to a dialog box with instructions, and at the bottom, a place to enter an email address.
Keep this dialog box open - you'll return to this page later to complete this step, as described below.
-
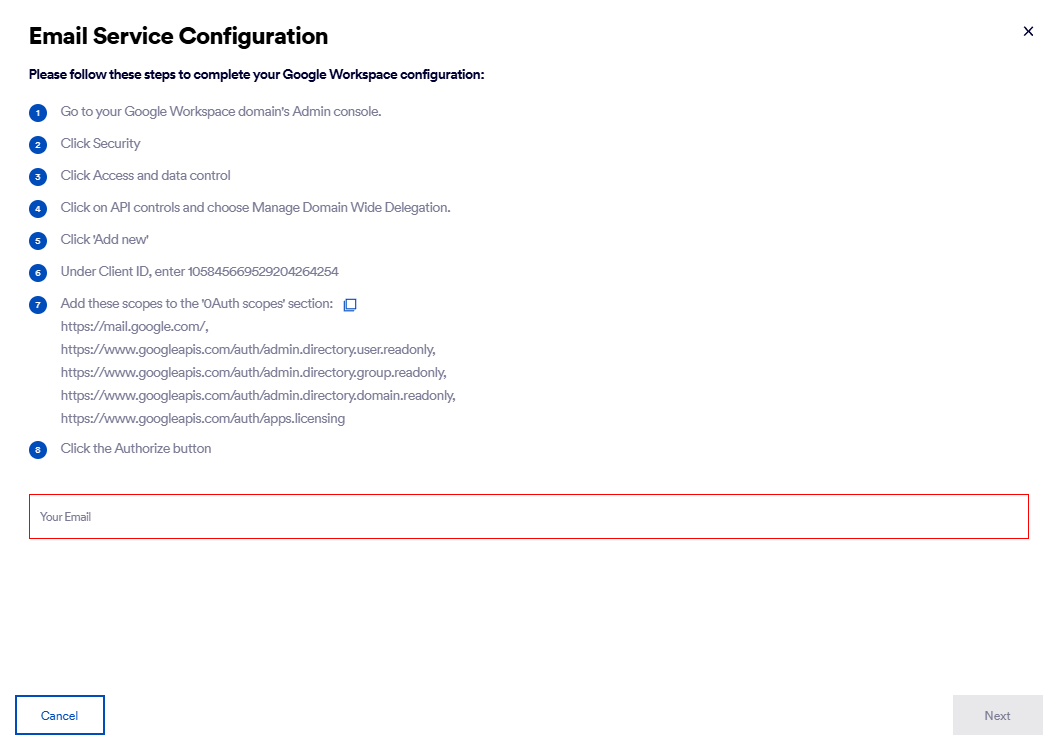
In Google Workspace:
-
Go to your Google Workspace domain's Admin Console.
-
Click Security > Access and data control > API controls.
-
Scroll down to the Domain wide delegation section, and then select Manage Domain Wide Delegation.
-
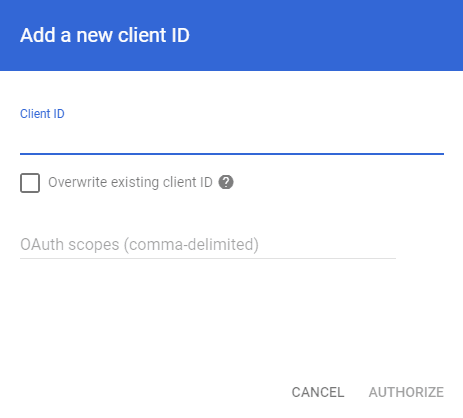
Click Add new.
-
Under Client ID, enter 105845669529204264254
-
Add these scopes to the 0Auth scopes section:
-
https://mail.google.com/
-
https://www.googleapis.com/auth/admin.directory.user.readonly
-
https://www.googleapis.com/auth/admin.directory.group.readonly
-
https://www.googleapis.com/auth/admin.directory.domain.readonly
-
https://www.googleapis.com/auth/apps.licensing
Note: You can click the Copy to Clipboard icon [
 ] in the "Email Service Configuration" dialog box to copy a comma-delimited list of the required scopes.
-
-
Click Authorize.
-
-
In "Acronis Email Security"
Return to the dialog box in "Acronis Email Security" that was opened earlier in this procedure:
-
In the field with the text "Your Email" [at the bottom of the dialog box], enter an admin email address [see the Important note below for details].
Important:
-
We recommend that you create an email address that is dedicated for this integration only. This will ensure that the email address is always available - and that the integration is not dependent on the continued availability of a specific user in your organization.
-
The email address should have Super Admin privileges [with API permissions].
An error message similar to "Integration Error: email address may be invalid" may indicate that the specified user [email address] doesn't have the required permissions.
-
-
Click Submit.
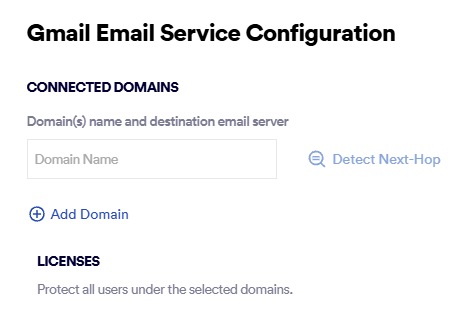
The next step in the wizard appears - the Gmail Email Service Configuration dialog box.
-
-
-
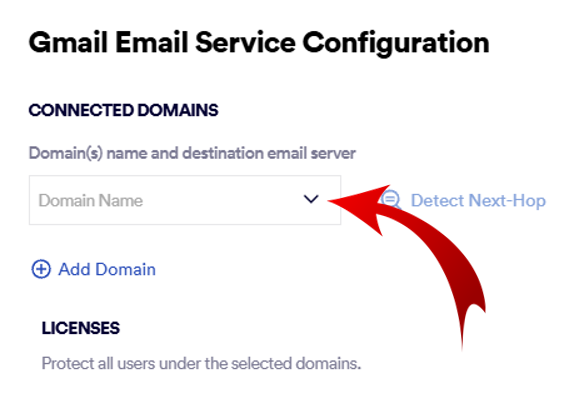
Under Connected Domains, on the right of Domain Name, click the down-arrow, and select the domain to add for protection.
-
Click Detect Next-Hop to the right of the newly selected domain.
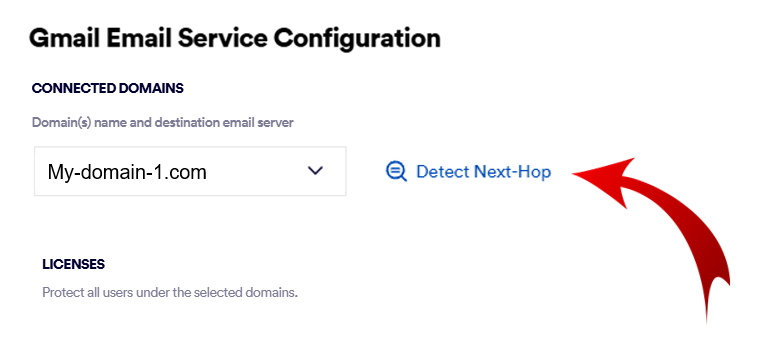
This should populate the Server field with a server address. This is the address to which mail will be sent after it has been scanned and marked as being clean.
Important: Do not enter a value such as smtp.office365.com or outlook.office365.com
The required Server is a server in your domain - as it appears in the MX record.
 Checking your Server manually
You can perform the lookup procedure below to check that the Server that appears is correct:
-
-
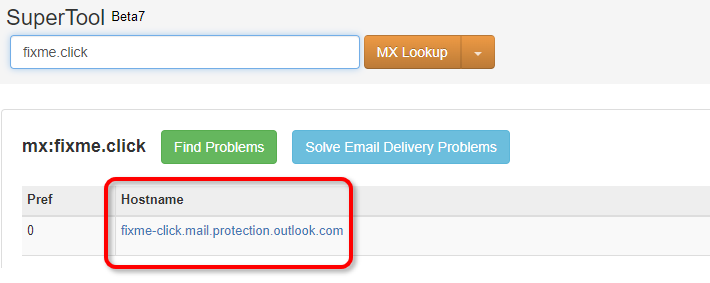
In Domain Name, enter your domain name - and then click MX Lookup.
Your required SMTP server will appear under Hostname.
-
-
[Optional] Click Add Domain - if more than 1 domain is required - and enter the required details.
-
Licenses: "Acronis Email Security" will protect all email users in the domains that you specified above.
Note: Partial domain protection is not supported with Google Workspace integrations.
-
Click Next.
The "Add TXT Records" dialog box opens. This dialog box includes the TXT record names and TXT record values, that you'll need in order to add and verify the TXT records for your domain - in Step 2.

If multi-region is enabled, there will be details for TXT records in both the primary and secondary regions. For details about the multi-region functionality, see Multi-region.

|
You must now perform Step 2 to verify the new domains that you added above. For details, see Step 2 - Verifying your domains [Google Workspace]. |
See also:
