|
Note:
|
This page includes:
About deployment via JumpCloud
This 3-step procedure describes how to use JumpCloud to deploy the browser extension for Google Chrome browsers - on Mac computers only.
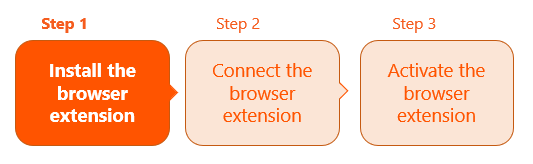
The deployment procedure includes the following steps:
-
Step 1: Install the browser extension
-
Step 2: Connect the browser extension
-
Step 3: Activate the browser extension

For more information about deployment options, see Deploying the extension [Managed deployment].
Step 1: Install the browser extension
To perform Step 1, install the browser extension in the same way that you install other browser extensions.
|
Note:
|
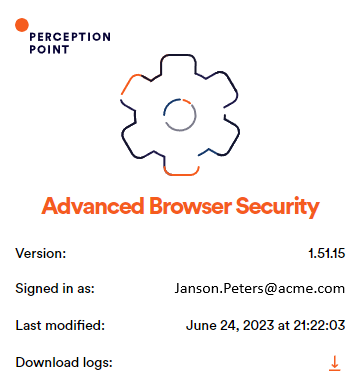
After you have installed the extension, you can verify that the installation was successful:
-
Open a Google Chrome browser that has the extension installed.
-
Click on the Perception Point browser extension icon, and then click the Settings icon [
 ].
].Confirm that the user is signed-in - without having been prompted to sign-in.

Step 2: Connect the browser extension
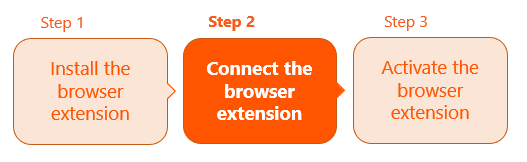
Step 2 includes the following steps:
|
Step 2A: Download the Mac Shell script Download the required Mac Shell script from the Advanced Browser Security console. The MacOS Shell script will contain the organization token that is required to deploy the extension without requiring any user input. Step 2B: Deploy the organization token Use JumpCloud to push the Mac Shell script that you downloaded in Step 2A - to all target endpoint devices. This will deploy the organization token on the target devices. |
Step 2A: Download the Mac Shell script
To enable the browser extension to be activated without requiring any user input, you'll need to download a MacOS Shell script that includes the required organization token. You can download the MacOS Shell script from the Advanced Browser Security console. For details on how to download the required MacOS Shell script, see Downloading an organization token - making sure to select the MacOS option. you'll need this downloaded MacOS Shell script for use in Step 2B below.
Step 2B: Deploy the organization token
-
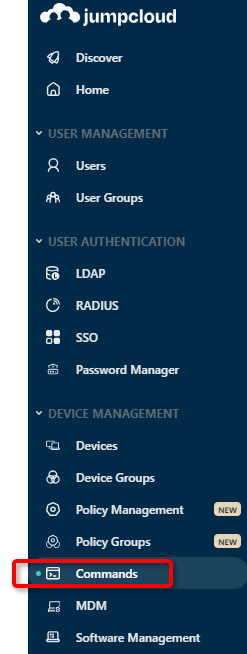
Login to the JumpCloud administrator console.
-
Open the Device Management > Commands page.

-
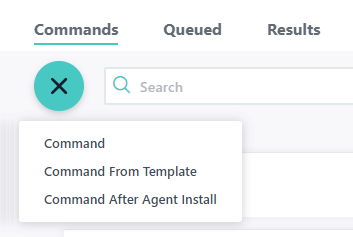
In the top left corner of the Commands tab, click on the "+" button, and then select Command.

-
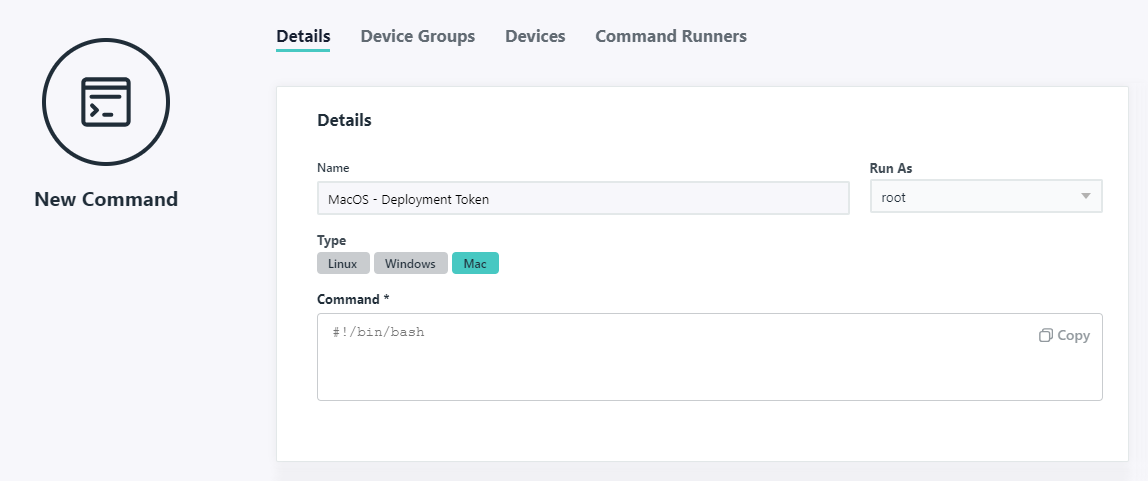
In the New Command page > Details tab, enter:
Details
-
Name: Something like: MacOS - Organization Token
-
Run As: root
-
Type: Mac
-
Command: Copy the contents of the MacOS Shell script file that you downloaded in Step 1A above, and paste the contents here.
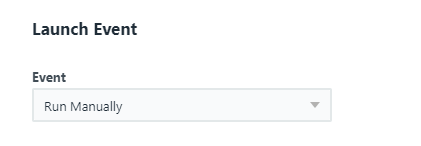
Launch Event

-
Event: Run Manually
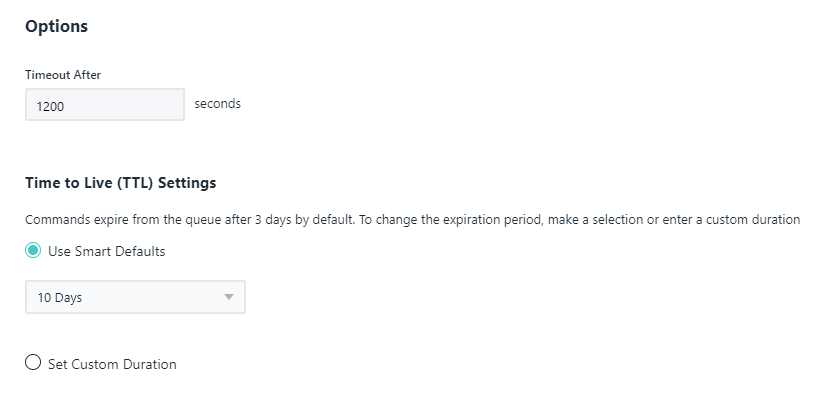
Options
-
Timeout After: 1200 seconds
-
Time to Live (TTL) Settings: Use Smart Defaults: 10 days
-
-
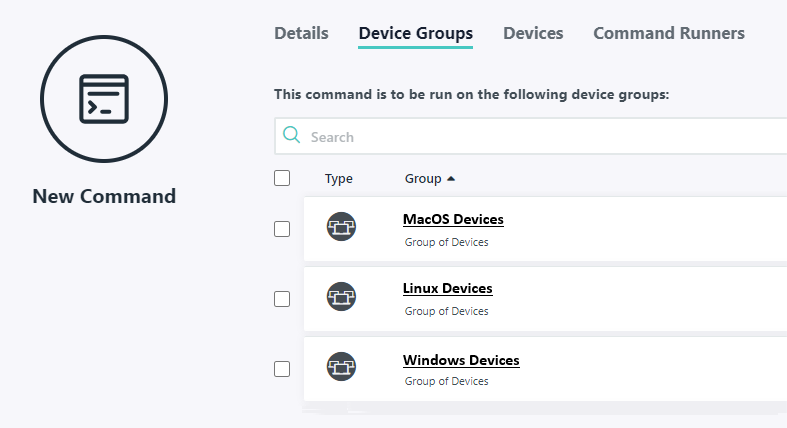
Click the Device Groups tab.

Note: You can also open the Devices tab if your devices are not arranged in groups.
-
Select the required group or groups [or devices].
-
Click Save.
Note: It is recommended that you test deployment of the token on a test device before performing a deployment in a production environment.
-
To execute the deployment of the token, click Run Now on the right of the new command.

This will deploy the token on all selected devices.
-
To see the status, click the Results tab.
-
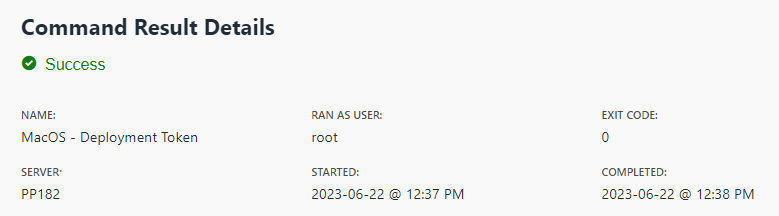
To view the deployment logs, locate the new command, and then click View.
-
Look for Success under Command Result Details.


Step 3: Activate the browser extension
For details, see Step 3: Activating the extension on endpoints.
See also:
