This section includes:
|
Note: Before implementing this channel integration, contact your Account Manager for "Acronis Email Security" to make sure that this functionality is included in your current "Acronis Email Security" license. |
About the SharePoint integration
"Acronis Email Security" can be integrated with various products. This page explains what configurations are required to integrate "Acronis Email Security" with SharePoint. For general information about integrating "Acronis Email Security" with other products, see Bundles and Channels.
When the "Acronis Email Security"-SharePoint integration is fully configured, "Acronis Email Security" will scan all the organization folders, both shared and private - each time a file is uploaded to a shared site, or modified. Scan details are included in the Scans page in "Acronis Email Security". Remember to click the SharePoint filter icon [ ] to show only SharePoint scans.
This page describes what must be performed by "Acronis Email Security" Support and what must be performed by you, the customer, to perform the integration.
About quarantining files in SharePoint
By default, each new "Acronis Email Security"-
-
The quarantined file is moved to the quarantine folder.
-
The quarantined file it is not accessible to the owner of the file.
-
"Acronis Email Security" may be configured to send an email alert to the owner of the file to inform the owner that the file has been quarantined. For details, see Alerts.
-
"Acronis Email Security" may be configured to send an alert to administrators to inform them about the quarantined file. For details, see Alerts.
-
The quarantined file is replaced by a text file in its original location. The replacement "placeholder" text file has the same name as the quarantined file, but has an additional .txt extension. For example, the placeholder file for Document-123.docx would have the name Document-123.docx.txt
The content of the placeholder text file is similar to:
Document-123.docx was blocked by "Acronis Email Security". Contact your system administrator in order to access this file. -
You can customize the text that appears in quarantine placeholder files. You can also add links. If necessary, contact "Acronis Email Security" Support [support@perception-point.io] to specify the customized text and the links that will appear in the placeholder files.
-
When an administrator releases a quarantined file [by changing its verdict to clean]:
-
An email is sent to the owner of the file to inform the owner that the file has been released from quarantine.
-
The released file will be accessible to the owner, in the original location of the file.
-
The placeholder text file is deleted.
For details about releasing a file from quarantine, see Changing Verdicts.
|
Note: To disable quarantine, contact "Acronis Email Security" Support [support@perception-point.io]. |
Prerequisites
In order to perform the required integration with "Acronis Email Security", make sure that you have the following prerequisites:
-
Microsoft 365 Business Basic
-
Administrator rights in Microsoft 365
-
Admin role in "Acronis Email Security"
The SharePoint integration procedure
Perform the procedure below to integrate "Acronis Email Security" with SharePoint.
Activating the SharePoint integration
This step activates the "Acronis Email Security"-SharePoint integration.
This step ensures that
-
In Acronis Cyber Protect, in the left navigation menu, click Clients.
-
In the Protection tab, locate the required client.
-
Click the logo [
 ] on the left of the client name.
 -
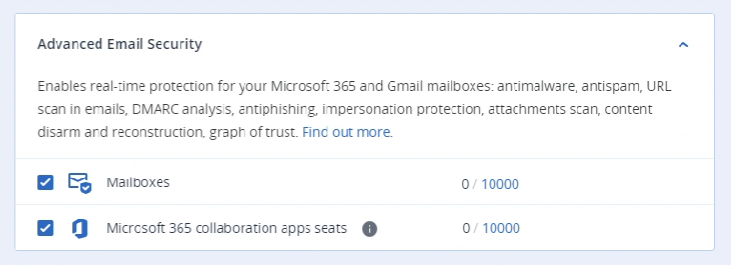
In the panel that opens on the right, in the Protection tab, scroll down to "Advanced Email Security".
-
Click Edit.
-
Make sure that the "Microsoft 365 collaboration apps seats" check box is selected.
Note: If the "Microsoft 365 collaboration apps seats" option doesn't appear, contact your Acronis account manager.
-
Click Save.
To activate the SharePoint integration:
-
In "Acronis Email Security", in the left navigation menu, select Settings > Bundles and Channels.
-
Under Assigned Bundles, make sure that at least one bundle is assigned that includes SharePoint.
For example, the "Advanced Cloud Storage Security for MS Package" bundle includes the SharePoint channel.
Note:
-
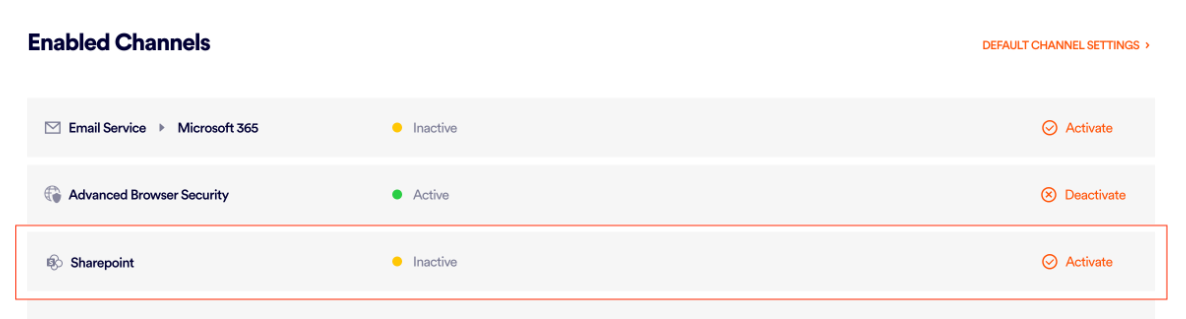
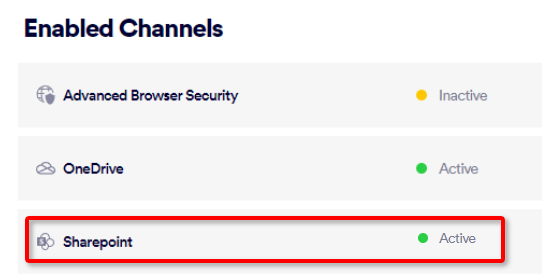
If a bundle that includes the SharePoint channel is assigned, then SharePoint will appear in the list of channels under Enabled Channels.
-
You can click Bundles Settings, that is located on the right of each Assigned Bundle, to see which channels are included in a bundle.
-
-
Under Enabled Channels, locate "SharePoint" and then click "Activate".
-
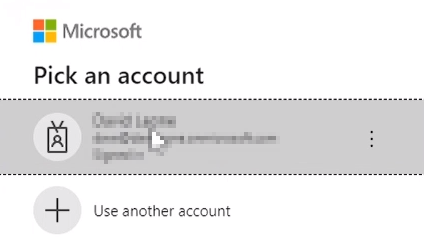
You'll be redirected to sign-in to your Microsoft account.
-
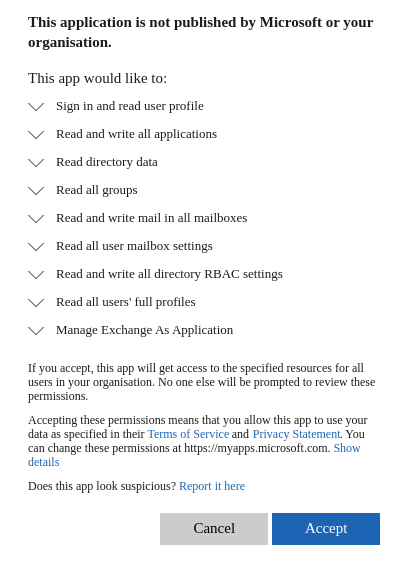
Sign-in to your Microsoft account as an admin. You'll see a list of the permissions that are required.
-
Click Accept.
Make sure that SharePoint now appears as "Active" under Settings > Bundles and Channels > Enabled Channels.
|
Note:
|
Your "Acronis Email Security"-SharePoint integration should now be functional. 
What gets scanned
|
IMPORTANT: The "Acronis Email Security"-SharePoint integration protects only the default Documents library in any SharePoint site - "Acronis Email Security" won't scan any other document libraries. |
"Acronis Email Security" scans the following files:
-
Every file that is added by a user to the user's shared site.
-
Every file that an administrator uploads to a shared site.
-
Every file that is changed by a user in the user's own shared site.
[Only the first time it is changed in a 24-hour period.] -
Every file that is changed by an administrator in a shared site.
[Only the first time it is changed in a 24-hour period.]
|
Note:
|
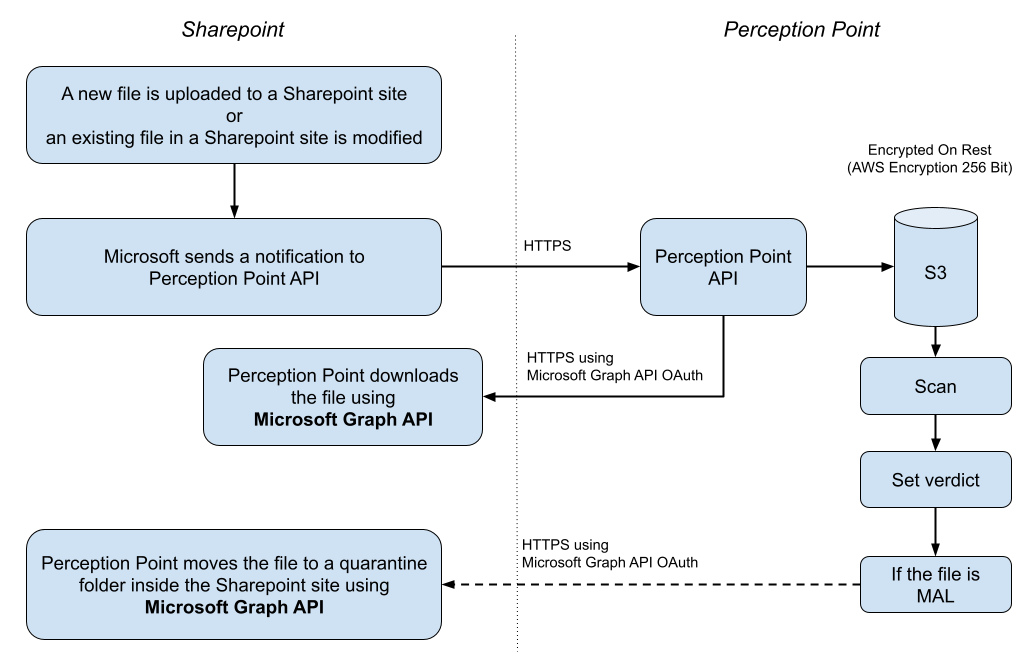
Flow chart diagram
Hover your cursor over the graphic below to enlarge it ![]()
See also:
